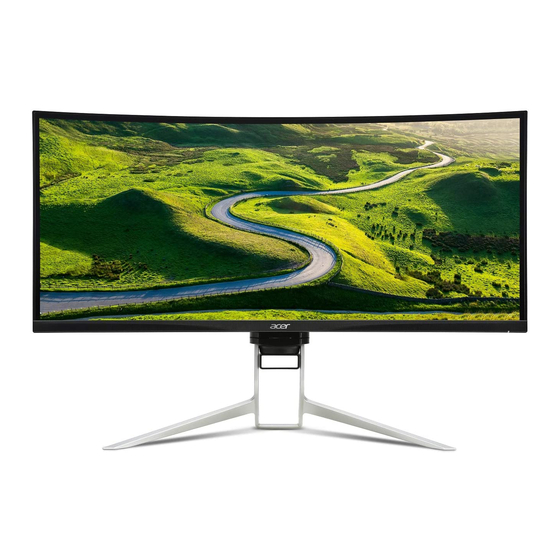
Acer XR342CK 사용자 설명서 - 페이지 2
{카테고리_이름} Acer XR342CK에 대한 사용자 설명서을 온라인으로 검색하거나 PDF를 다운로드하세요. Acer XR342CK 23 페이지.
Acer XR342CK에 대해서도 마찬가지입니다: 사용자 설명서 (27 페이지)

Acer LCD Monitor Quick Start Guide (QSG)
Important safety instructions
Please read the following instructions carefully.
1.
To clean the LCD monitor screen:
•
Turn off the LCD monitor and unplug the power cord.
•
Spray a non-solvent cleaning solution onto a rag and clean the screen gently.
2.
Do not place the LCD monitor near a window. Exposing the monitor to rain, moisture or sunlight can severely damage
it.
3.
Do not apply pressure to the LCD screen. Excessive pressure may cause permanent damage to the display.
4.
Do not remove the cover or attempt to service this unit yourself. An authorized technician should perform servicing of
any nature.
5.
Store the LCD monitor in a room with a temperature of -20° to 60° C (-4° to140° F). Storing the LCD monitor outside
this range may result in permanent damage.
6.
Immediately unplug your monitor and call an authorized technician if any of the following circumstances occur:
•
Monitor-to-PC signal cable is frayed or damaged.
•
Liquid spills onto the LCD monitor or the monitor is exposed to rain.
•
The LCD monitor or case is damaged.
7.
In order to prevent damage to the LCD pannel, do not place the monitor face down on a surface.
Package contents
LCD
Power
MHL cable
monitor
Adapter
(optional)
Connecting your monitor to a computer
1.
Turn off your computer and unplug your computer's power cord.
2.
Connect the signal cable to the HDMI (optional) and /or DP (optional) and /or MHL (optional) input socket of the
monitor, and the HDMI (optional) and /or DP (optional) and /or MHL (optional) output socket of the graphics card on
the computer. Then tighten the thumbscrews on the signal cable connector.
3.
Connect the USB Cable(Optional)
Connect the USB 3.0 cable to port for fast charge.
Connect the USB 3.0 cable to port.
4.
Insert the monitor power cable into the power port at the back of the monitor.
5.
Connect the power adapter and power cord to the monitor, then to a properly grounded AC outlet.
MHL
DP
HDMI
DP cable
USB cable
cable
(optional)
(optional)
(optional)
Wall
Quick start
Headset
mount
guide
BKT
XR342CK
USB
hook
