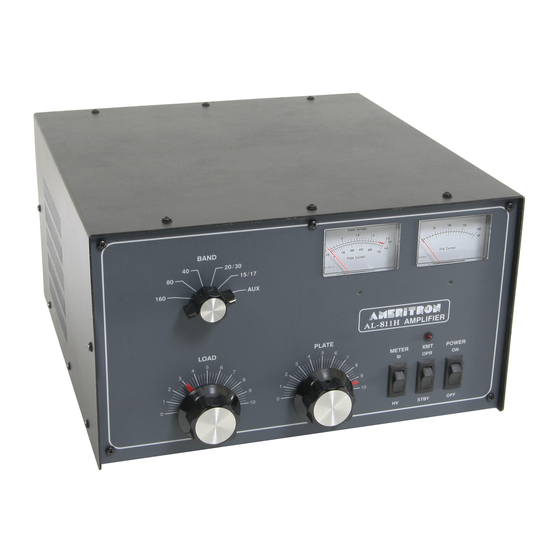
AMERITRON AL-811HY 포장 풀기 사용 설명서 - 페이지 5
{카테고리_이름} AMERITRON AL-811HY에 대한 포장 풀기 사용 설명서을 온라인으로 검색하거나 PDF를 다운로드하세요. AMERITRON AL-811HY 11 페이지.
AMERITRON AL-811HY에 대해서도 마찬가지입니다: 매뉴얼 (13 페이지)

1.
Connect the RF output of the transmitter or transceiver to
the RF IN connector on the rear of the AL-811H with 50
ohm coax. Use any 50 ohm cable (RG-58 is fine) with PL-
259 plugs.
2.
Connect the existing station antenna system to the RF OUT
connector on the AL-811H with any 50 ohm coaxial cable
capable of carrying 650 watts.
3.
Use shielded audio type cable with standard male phono
plugs to connect the RELAY jack on the AL-811H to the
exciter's normally-open amplifier keying circuit.
keying circuit in the AL-811H has a positive 12 VDC open
circuit and it provides 100mA of current when connected to
ground. The AL-811H has an internal back-pulse canceling
diode across the relay coil.
5
INTERCONNECTIONS
The
From The N3UJJ.COM Document Library
From The N3UJJ.COM Document Library
4.
Connect the shortest possible ground lead from a good earth
ground to the GND terminal. The best leads are solid
(instead of stranded or braided) copper. It is also best to
use a common ground point for all the equipment in the
station.
5.
Use a shielded audio cable with standard male phono plugs
to connect the ALC out jack on the back of the amplifier to
the negative going ALC input jack on the exciter. Do not
connect this line until you have read and understand the
function of the ALC circuit. Exciters with output powers
below 70 watts do not normally require this connection. If
this jack is connected without adjusting the ALC control,
the exciter may not develop any drive power.
