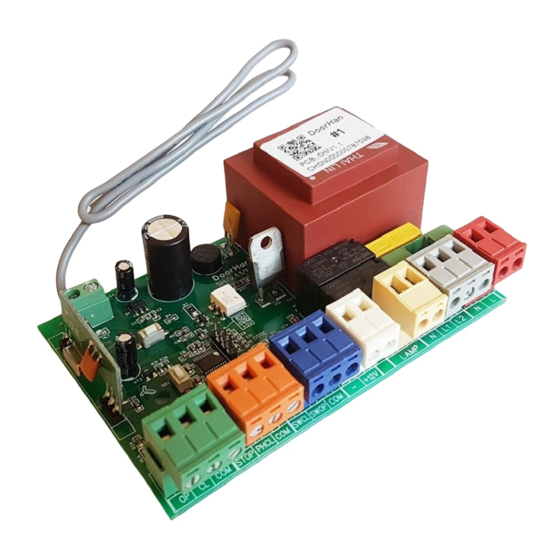
DoorHan PCB-SH 프로그래밍 지침 매뉴얼 - 페이지 12
{카테고리_이름} DoorHan PCB-SH에 대한 프로그래밍 지침 매뉴얼을 온라인으로 검색하거나 PDF를 다운로드하세요. DoorHan PCB-SH 16 페이지. Control board
DoorHan PCB-SH에 대해서도 마찬가지입니다: 프로그래밍 지침 매뉴얼 (14 페이지), 프로그래밍 지침 매뉴얼 (12 페이지)

2.2. CONFIGURING AUTOMATIC CLOSING ACTUATOR
Set the operator operation mode with automatic closing (mode 5). Press and hold down the "P" button, the Program indicator
will illuminate continuously and in three seconds it will go out. Take the desired time for an automatic closing timer and again
press the "P" button (maximum automatic closing time is 5 min.).
NOTE: the door automatic closing function operates only in the operation mode 5.
If setting of the pause time before automatic closing has not being carried out, then in the preset operation mode with;
automatic closing the operator will be automatically closed in 30 seconds.
3. PROGRAMMING OF REMOTE CONTROL PANELS
3.1. RECEIVER MEMORY CLEARING
After power supply is switched on, press and hold down the panel programming button "R"; the Remote indicator will illuminate
solid red, after 10 seconds the indicator will go out and light up for one second to confirm that the panels have been erased from
the memory. Release the panel programming button "R".
3.2. RECORDING OF DOORHAN PANELS IN THE RECEIVER
For panel programming press and hold down the "R" button for 3 seconds. The Remote indicator will illuminate solid red.
Release the "R" button. Select a button on the remote control panel, with the help of which you will control the operator operation
later on. Press twice the selected button, and the red indicator Remote will flash once to confirm that the panel code has been
programmed in the receiver.
NOTE: the Remote indicator will flash three times when there is the receiver memory overflow (maximum number of
panels in the receiver memory — 60 pcs.).
For programming several panels repeat the programming procedure for each panel.
3.3. REMOTE PROGRAMMING OF DOORHAN PANELS
It is necessary to perform items 1–4 within the five seconds interval:
1. Press and hold down button 2 (see figure below) of the programmed panel.
2. Press and hold down button 1, not releasing the pressed button 2.
3. Release all pressed buttons.
4. Press the programmed panel button; the receiver will enter the panel programming mode (the Remote indicator will
illuminate continuously).
5. Press twice a button on the new panel, with the help of which you will control the operator operation later on. The
Remote indicator will flash once to confirm that the panel code has been programmed in the receiver.
NOTE: it is necessary to perform the panel programming within the working range of the receiver for the electric
operator control board. The button number can be determined according to dots on the panel body.
1
3
4
2
12
3
2
1
4
PROGRAMMING OF REMOTE CONTROL PANELS
1
2
1
2
