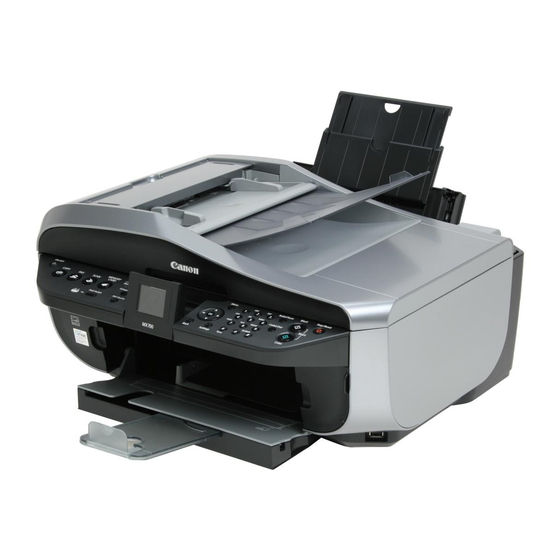
Canon PIXMA MX700 Series 네트워크 설정 매뉴얼 - 페이지 4
{카테고리_이름} Canon PIXMA MX700 Series에 대한 네트워크 설정 매뉴얼을 온라인으로 검색하거나 PDF를 다운로드하세요. Canon PIXMA MX700 Series 32 페이지. Office all-in-one printer
Canon PIXMA MX700 Series에 대해서도 마찬가지입니다: 청소 매뉴얼 (7 페이지), 보충 설명서 (6 페이지), 설정 지침 (2 페이지), 브로셔 및 사양 (2 페이지), 기술 정보 (2 페이지), 서비스 매뉴얼 (44 페이지)

Setting Up the Machine and the Computer
(Windows)
Before installing the MP Drivers, disable all anti-virus programs and automatically loading
programs.
Log into a user account with the administrator privilege.
A message asking for your confirmation to restart your computer may appear during the
installation process. If this message is displayed, follow the on-screen instructions and click OK.
The installation resumes from where it left off when your computer has been restarted. While
restarting, do not remove the Setup CD-ROM.
Important
Depending on the country or region of purchase, the following two CD-ROMs are included in the package
for the Windows setup.
– Windows (CD-1)
– Windows (CD-2) Macintosh
In this case, insert the Setup CD-ROM "Windows (CD-1)" first to start the installation, and follow the on-
screen instructions to complete the installation.
Note
The screens below refer to Windows Vista™ operating system Ultimate Edition (hereafter referred to as
"Windows Vista") installation. Screens may vary depending on the operating system you are using and
also depending on the country or region of purchase.
1 Installing the software
Note
If the Found New Hardware or Found New Hardware Wizard
screen appears automatically during the installation process,
remove the USB cable connected to your computer. Click Cancel
to quit the screen. In Windows Vista, the screen may close
automatically when the USB cable is unplugged. Then turn off the
machine and proceed from step 3 to install the MP Drivers.
1
Turn off the machine.
Note
Make sure that the Power lamp is turned off.
2
Turn the computer on and start Windows.
4
