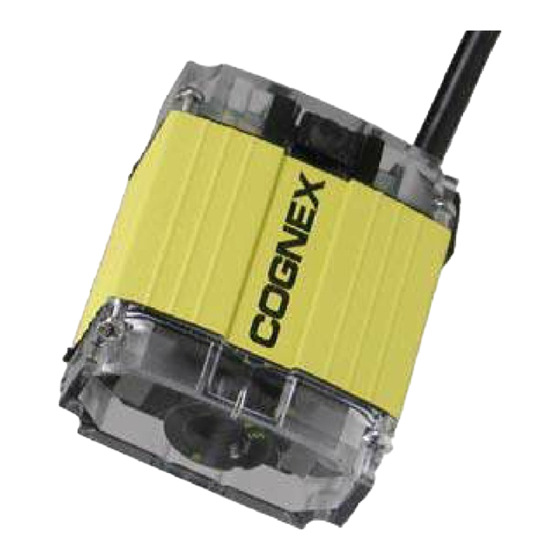
Cognex DataMan 100 제거 지침
{카테고리_이름} Cognex DataMan 100에 대한 제거 지침을 온라인으로 검색하거나 PDF를 다운로드하세요. Cognex DataMan 100 2 페이지. Shd/c-mount kit removal instructions
Cognex DataMan 100에 대해서도 마찬가지입니다: 빠른 참조 매뉴얼 (18 페이지), 빠른 참조 (16 페이지)

COGNEX
1
SHD: Unscrew and remove long screws, cover,
and SHD spacer.
C-Mount: Remove screws and SHD adapter.
2
SHD: Unscrew and remove SHD lens.
3
C-Mount: Replace light guide assembly (note
orientation).
4
Install original DataMan 100 lens.
5
1.
Mount DataMan 100 at either 74 mm or 114
mm, measured from front of metal case to
target symbol. Alignment guide is printed on
back of this sheet.
2.
Connect DataMan 100 to Setup tool. Enable
presentation mode.
3.
Adjust focus for maximum sharpness.
5
Align either 65 or 105 mark on lens ring to index
mark, then carefully press focus flange onto lens.
Avoid turning lens while pressing on focus flange.
6
Install four original screws.
Do not use long screws provided with SHD kit.
7
Tighten screws to 9 N-cm observing tightening
order shown here.
®
DataMan 100 SHD/C-Mount Kit Removal Instructions
590-7042 © 2007 COGNEX Corporation
3
1
2
4
