Quick Start Guide
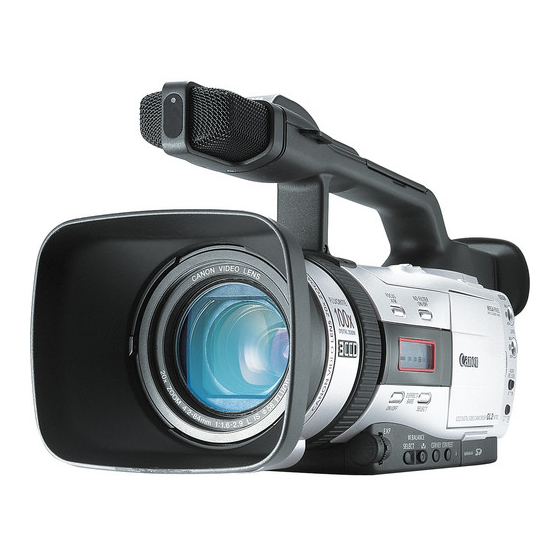
Canon GL2 Video Camera
Initial Setup
1 1
Remove lens cap on front of camera
Attach battery pack to rear of camera by extending the viewfinder,
2
rotating it upwards, and sliding the pack into place
Insert miniDV tape by sliding the OPEN/EJECT button forward, placing tape
3
in compartment, pressing the PUSH mark until it clicks, and closing the cover
To Begin Recording
Slide the POWER switch to CAMERA on the top left side of the camera
4
Slide the TAPE/CARD switch to TAPE near the grip on the right side
5
6
Turn the standby lever to STANDBY
Open the LCD screen by pressing the OPEN button and rotating it outward.
7
If you prefer, you can also use the camera's Viewfinder instead.
Put the camera in EASY mode by sliding the program selector to the left.
8
This will allow you to point and shoot without making any manual adjustments.
For all other recording modes, slide the program selector to P.
Next, push in on the Select Dial and choose the mode you prefer.
AUTO - This is the same as Easy mode, except that you now have the
option of using any of the camcorder's manual options.
MANUAL - This allows you to freely adjust any of the camera's audio or
visual settings as you like.
For a more detailed description of all the camera's possible settings,
please consult the full Instruction Manual.
9
Press the START/STOP button to begin recording. Press the START/STOP
button again to pause the recording. You can stop and restart as often as you like.