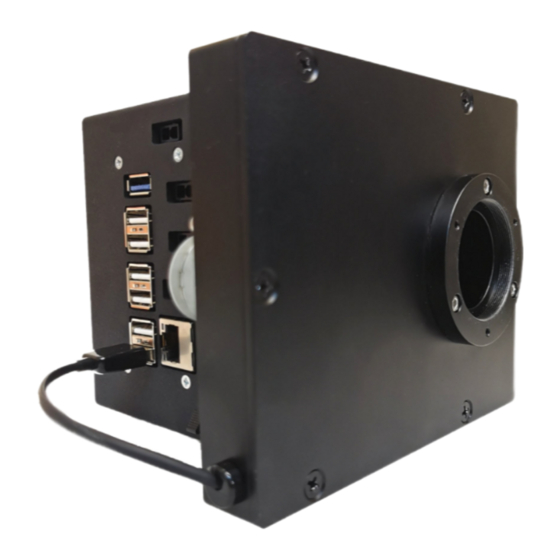
Astrel Instruments AST492 시작하기 - 페이지 6
{카테고리_이름} Astrel Instruments AST492에 대한 시작하기을 온라인으로 검색하거나 PDF를 다운로드하세요. Astrel Instruments AST492 11 페이지.

Astrel Instruments
start, automatically connect to the AST492 camera and ask for setting the local coordinates: say
no, you could set it later, then click the 'shoot' button to take a picture. The camera exposes for
1 second and downloads the image: depending on the light entering the camera, you could
need to stretch it using the histogram tool on the lower left.
Then go to the 'gear' tab and click 'connect wheel'. The wheel should connect and show that it
is on the R (meaning Red) filter. The APT filter names are set like the following (see Filters
mounting procedure below):
•
Position 1: filter L (Luminance)
•
Position 2: filter R (Red)
•
Position 3: filter G (Green)
•
Position 2: filter B (Blue)
•
Position 2: filter Ha (H-alpha)
•
Position 2: filter SII (Sulfur II)
•
Position 2: filter OIII (Oxigen III)
Click 'go to filter', select 'B' and verify that the wheel is moving of 1 position counter clock wise.
If you come to this point without problems, congratulations: the camera is working correctly.
Next steps would be to connect your equipment to the ports of the AST492 (autoguider,
telescope, focuser, GPS, ...) and read the APT manual in order to understand how to deal with
your setup and start taking pictures!
Getting Started
Figure 3: Running APT
6/11
AST492
rev A
