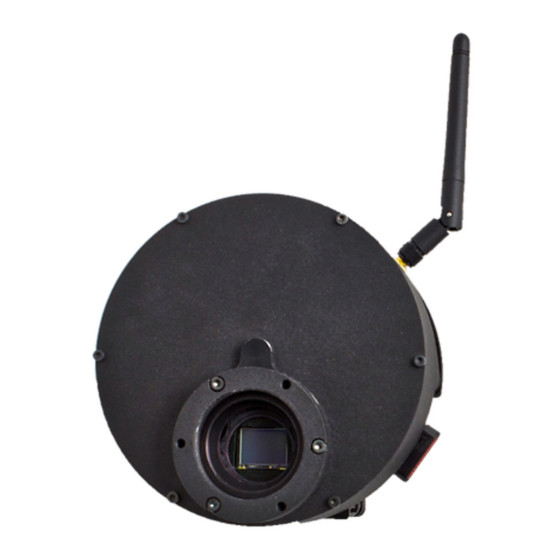
Astrel Instruments AST-8300-B 단계별 사용자 설명서 - 페이지 6
{카테고리_이름} Astrel Instruments AST-8300-B에 대한 단계별 사용자 설명서을 온라인으로 검색하거나 PDF를 다운로드하세요. Astrel Instruments AST-8300-B 6 페이지. Mounting filters

Astrel Instruments
14. Use + and – buttons to move the wheel until one of the tapped holes for the plastic caps
is accessible
15. take one of the correct plastic caps (depending on the filter's thickness) and fasten one of
the screws on it, then screw the so obtained assembly into the filterwheel tapped hole
until it firmly locks the filters
WARNING: never
leave the screws unfastened when moving the
the border of the optical window hole and lock, possibly breaking the filterwheel motor!
16. repeat steps 14-15 for all the tapped holes on the filterwheel
17. put the o-ring, the optical window, the second o-ring if present and the metal ring in their
original placements
18. slightly fasten the three screws that fix the ring around the optical window
19. make the vacuum inside the camera using the vacuum pump and close the valve
20. complete fastening the three screws
When putting/removing filters, weight distribution of the wheel changes and it could be
necessary to adjust the filterwheel calibration using the provided app into the Admin tab of the
camera Desktop (refer to the Admin Tools User Guide).
The filter name on the buttons of Filterwheel can be changed using the Configure app into the
Admin tab of the camera Desktop (refer to the Admin Tools User Guide).
Mounting Filters UG
filterwheel: the cap may hit
6/6
AST-8300-B
rev E
