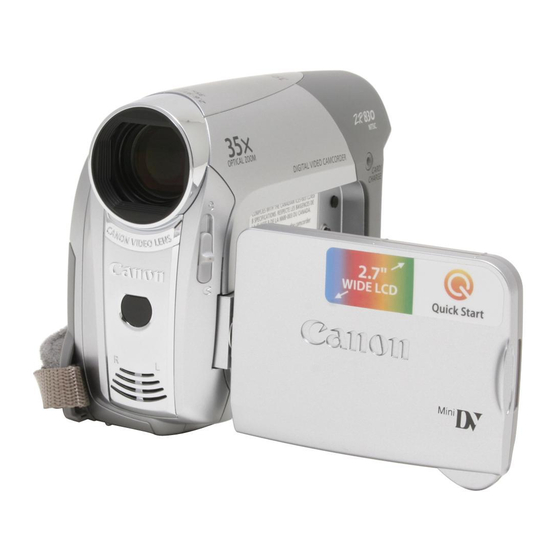
Canon ZR 800 - Camcorder - 680 KP 운영 매뉴얼 - 페이지 4
{카테고리_이름} Canon ZR 800 - Camcorder - 680 KP에 대한 운영 매뉴얼을 온라인으로 검색하거나 PDF를 다운로드하세요. Canon ZR 800 - Camcorder - 680 KP 6 페이지. Digital palmcorder
Canon ZR 800 - Camcorder - 680 KP에 대해서도 마찬가지입니다: 브로셔 및 사양 (2 페이지)

White Balance
The white balance function helps you accurately
reproduce colors under different lighting
conditions so that white objects will always look
truly white in your recordings. There are 4 options
for the white balance setting.
Auto - Settings are automatically set by the
camcorder. Use this setting for outdoor
scenes.
Daylight - For recording outdoors on a bright day.
Tungsten - For recording under tungsten and
tungsten type (3-wavelength) fluorescent
lighting.
Set - Use the custom white balance for special
situations not covered by the other options.
The custom white balance will ensure that
white subjects appear white under various
lighting conditions.
With the mode switch on P, press FUNC button
then scroll to the currently selected white balance.
When you select [SET] do not press FUNC and
continue instead with the procedure below.
Point the camera at a white object, zoom in until
it fills the whole screen and press the joystick.
When the adjustment is completed, the WB icon
will stop flashing and stays on. The camcorder
retains the custom setting even if you turn off the
camcorder. Press FUNC to save the setting and
close the menu.
Adjusting the Volume
•
Press FUNC.
•
Toggle the joystick up or down to find the
SPEAKER and toggle the joystick left or right to
adjust the volume.
•
Press FUNC to close the menu.
Setup Menu
In the SETUP menu the following can be
adjusted; Shutter speed, Auto slow shutter
(automatically uses slow shutter speeds to obtain
brighter recordings in places with insufficient
lighting), Zoom speed, Image stabilization
(compensates for camcorder shake even at full
telephoto), wide-screen (16:9 is standard for this
camera, if you desire 4:3 recording you must set
this) and Self timer.
Manual Exposure Adjustment
Backlit subjects may be underexposed or
subjects under strong lights may be overexposed.
To correct this, you can manually adjust the
exposure. With the Mode switch set to P (except
for fireworks settings), if the joystick does not
appear on screen, press the joystick to display
it. Push the joystick UP towards [EXP]. [EXP]
on the joystick guide changes to light blue and
the exposure adjustment indicator and the
neutral value "+/- 0" appear on the screen. If
you operate the zoom during exposure lock, the
brightness of the image may change. Pushing up
on the joystick will return the camcorder to auto
exposure.
Changing the Shutter speed
Use the automatic exposure (AE) program to set
the shutter speed or select one of the special
scene recording programs.
Make sure the mode switch is set to P
To set the Shutter speed in P;
press the FUNC button, and choose Menu, then
camera setup, then shutter and select the speed
you wish to use. Suggestions are listed below.
The screen will display only the denominator ( P
50 for 1/50).
1/60 - For general recordings
1/100 - For recording indoor sports scenes
1/250, 1/500, 1//1000 - For recording from within
a car or train, or for recording moving subjects
such as roller coasters
1/2000 - For recording outdoor sports such as
Tennis or Baseball on sunny days
Do not move the mode switch while recording as
the brightness of the image may change abruptly.
If the speed selected flashs it is inappropriate for
lighting conditions.
Recording movies under fluorescent lights
If the screen starts to flicker, set the shutter speed
to 1/100.
Self Timer
Set the camcorder in record pause mode, press
FUNC then choose MENU and select Camera
setup then self timer. Select ON and press
FUNC. Press START/STOP and the camera will
begin recording after a 10 second delay.
Page 4
