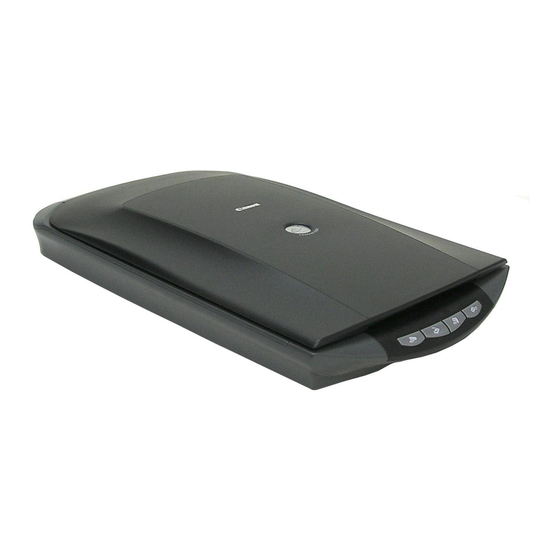
Canon 4200F - CanoScan Flatbed Scanner 빠른 시작 매뉴얼 - 페이지 15
{카테고리_이름} Canon 4200F - CanoScan Flatbed Scanner에 대한 빠른 시작 매뉴얼을 온라인으로 검색하거나 PDF를 다운로드하세요. Canon 4200F - CanoScan Flatbed Scanner 17 페이지. Canon canoscan 4200f: quick start

7
Select the [Output Size].
You can select from the following options.
• If you selected [Print ] in Step 6, you can select Flexible,
4"x6", A4 and Letter to match the size of the paper for
printing.
• If you selected [Image display] in Step 6, you can select
Flexible, 640 x 480, 800 x 600, 1024 x 768, 1600 x 1200
and 2048 x 1536 to match the sizes used by computer
monitors and digital cameras.
8
Click [Scan].
The final scan will start.
When the scan is complete, click the ScanGear CS
.
The scanned image will appear in ArcSoft PhotoStudio.
9
Save the scanned image.
Click the [File] menu and select [Save As]. Select the folder where you wish to store the image file, enter
a file name, select a file type (JPEG format is recommended) and click [Save].
10
Click the close box
• If the scanner does not perform as described above, read the "Troubleshooting"
section of the Scanning Guide (HTML format manual).
• For details about the bundled software programs, read the Scanning Guide or the
user guides (PDF format manuals) for each software program on the CanoScan Setup
Utility CD-ROM.
in the PhotoStudio window to close it.
close box
Scanning Film
15
