ASTRO A40 MixAmp 사용 설명서 - 페이지 8
{카테고리_이름} ASTRO A40 MixAmp에 대한 사용 설명서을 온라인으로 검색하거나 PDF를 다운로드하세요. ASTRO A40 MixAmp 14 페이지. +mixamp pro
ASTRO A40 MixAmp에 대해서도 마찬가지입니다: 사용 설명서 (13 페이지), 사용 설명서 (14 페이지), 사용 설명서 (14 페이지), 사용 설명서 (9 페이지), 사용 설명서 (13 페이지), 빠른 시작 매뉴얼 (2 페이지), 사용 설명서 (8 페이지)

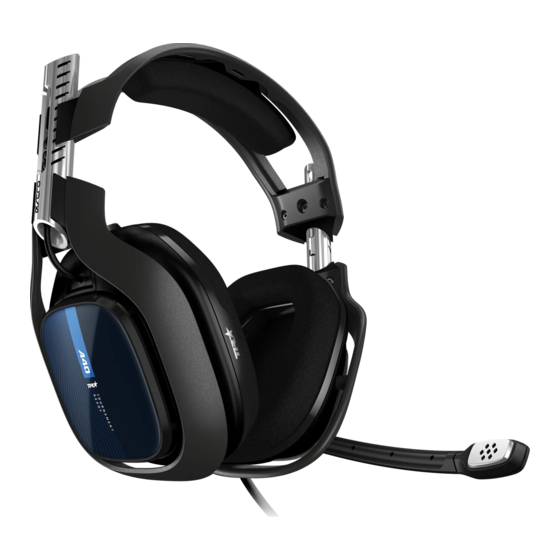
Setting up the A40 Headset
While the ASTRO Gaming A40 Headset contains more features in a headset
than you may be used to, configuration is quite simple.
The iconic plates on the outside of your A40 Headset are fully removable
and user configurable – we like to call them SPEAKER TAGS. They are each
held on with eight very powerful neodymium magnets (don't worry – the
magnets do not affect audio quality!). The A40 Headset comes with two
solid Tags and one with a small hole in its middle. The solid Tags are perfect
for when you are gaming or listening to music and don't need a microphone.
When you wish to add voice functionality to your gaming, use the SPEAKER
TAG with the small hole on the side that you wish to mount your microphone
on.
WARNING: While extra ASTRO Gaming SPEAKER TAGS make great refriger-
ator magnets, keep them away from small children and animals. The magnets
are VERY harmful if swallowed (and they taste really bad).
You'll find a receptacle for the A40's MICROPHONE BOOM on both sides of
the headset. Simply insert the boom into the jack and adjust the end of the
mic so it resides near to your mouth. The A40's microphone has excellent
noise-rejection properties – you'll find that swinging the mic up and away
from your mouth is a convenient way to self-mute when talking to someone
in the room if you are speaking at a normal volume. Otherwise, keep the
microphone close to your mouth for the best fidelity.
Important: For proper performance, make sure that the microphone is FULLY
SEATED in the headset receptacle. Press the MICROPHONE BOOM firmly
into the socket until you feel it snap into place.
P8
Setting up the A40 Headset
