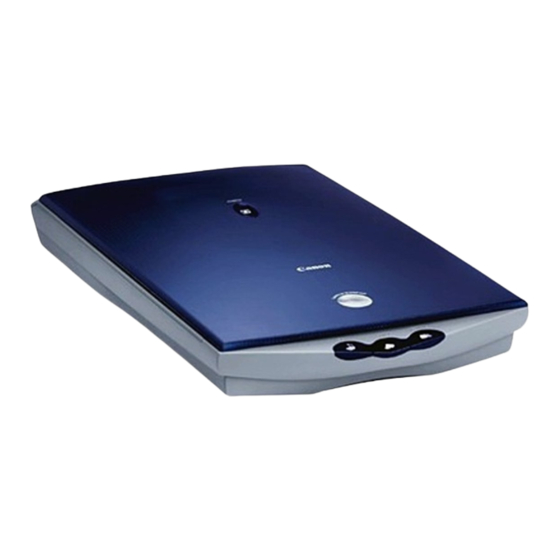
Canon D1250U2F - CanoScan USB Flatbed Scanner 사용자 설명서 - 페이지 31
{카테고리_이름} Canon D1250U2F - CanoScan USB Flatbed Scanner에 대한 사용자 설명서을 온라인으로 검색하거나 PDF를 다운로드하세요. Canon D1250U2F - CanoScan USB Flatbed Scanner 40 페이지. For windows
Canon D1250U2F - CanoScan USB Flatbed Scanner에 대해서도 마찬가지입니다: 사양 (2 페이지), 빠른 시작 매뉴얼 (31 페이지)

Chapter 3
Using the Scanner Buttons
What Scan Settings Are Used?
You may wish to know what settings are used when a
scan is initiated by simply pressing a scanner button.
What image type is selected? What are the Image
quality and paper size settings?
The answer is the latest settings that have been
specified.
For example, if you start the Toolbox you can click the
[Copy] button in the main window and set the Image
type to Grayscale, the Image quality to Standard, and
the Paper size to A5 Portrait in the settings dialog.
When you press the Copy button on the dialog, the
scan will start and transfer the image to the printer.
The next time you press the scanner's
button, the item will be scanned and copied with the
latest settings. Namely, the Image type will be set to
Grayscale, the Image quality to Standard, and the
Paper size to A5 Portrait.
f
Note
• If you want to adjust the scan settings without initiating
a scan, please perform the following procedure in
advance.
1. Start the Toolbox and click the desired button in the
main window.
2. Adjust the settings in the settings dialog.
3. Click the [Apply] button, then click the [Cancel] button.
w w
Contents
Index
31
Using the Scanner Buttons (3/3)
(COPY)
Changing Settings after a Button Has Been Pressed
If you decide to change the scan settings after a scanner
button has been pressed, click the [Cancel] button on the
Scanning progress dialog before the scan finishes.
Clicking the [Cancel] button will terminate the scan and
display the settings dialog. You can then adjust the
settings and restart the scan.
Previous View
Next View
Previous Page
Next Page
