Canon DR-6050C - imageFORMULA - Document Scanner 사용자 설명서 - 페이지 21

{카테고리_이름} Canon DR-6050C - imageFORMULA - Document Scanner에 대한 사용자 설명서을 온라인으로 검색하거나 PDF를 다운로드하세요. Canon DR-6050C - imageFORMULA - Document Scanner 31 페이지. Scanner
Canon DR-6050C - imageFORMULA - Document Scanner에 대해서도 마찬가지입니다: 브로셔 및 사양 (26 페이지), 간편한 시작 매뉴얼 (2 페이지), 보충 설명서 (7 페이지), 브로셔 및 사양 (8 페이지), 브로셔 및 사양 (4 페이지), 브로셔 및 사양 (33 페이지), 포켓 매뉴얼 (32 페이지), 브로셔 및 사양 (4 페이지), 유지 관리 매뉴얼 (20 페이지)
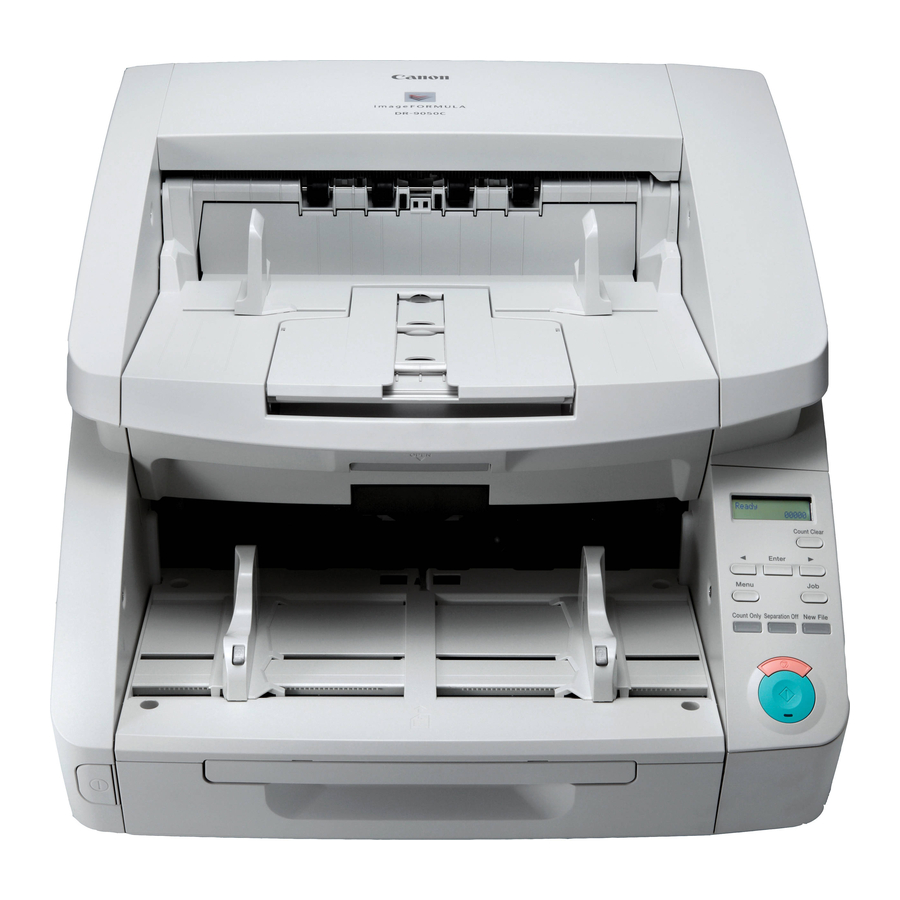
Canon DR-6050C - imageFORMULA - Document Scanner 사용자 설명서
7
Configure the [Main Scanner/Flatbed] setting.
Select [Flatbed] if the document is placed on the flatbed, and
select [Main Scanner] if the document is placed in the Canon
DR-series scanner. If you select [Auto], the scanner in which the
document is placed is detected automatically.
8
Configure the Canon DR-series scanner's settings if
necessary.
Click the [More] button to open the settings dialog box for the
Canon DR-series scanner. When you finish configuring settings,
click [OK] to close the dialog box.
For details on each setting, refer to the Help.
9
Configure the scanning conditions.
For details on settings, see "Scanner Settings" on p. 22.
10
Specify the file name and format for the image file to be
saved.
For details on other settings in the [Scan Batch to File Setting]
dialog box, refer to the CapturePerfect 3.0 Operation Guide.
11
Place the documents to be scanned, and click [Save] to
start scanning.
IMPORTANT
• The method for placing documents differs, depending on the
[Feeding Option] setting. For details, see "Changing the
Feeding Option for Scanning" on p. 24.
• Do not move the document placed on the scanning glass while
the power indicator is flashing and scanning is in progress.
12
When the [Continue Scanning] dialog box appears, check
whether a document is placed, and click [Continue
Scanning] or [Stop Scanning].
NOTE
If [Use Continue Scanning dialog] is not selected from the [Scan]
menu, scanning finishes without displaying the [Continue
Scanning] dialog box.
21