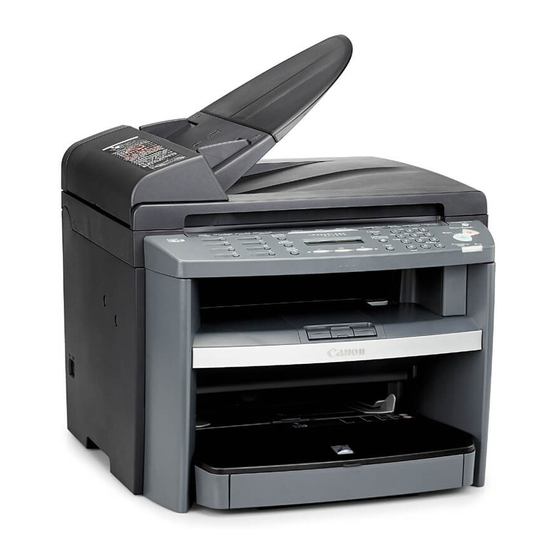
Canon ImageCLASS MF4270 시작 설명서 - 페이지 33
{카테고리_이름} Canon ImageCLASS MF4270에 대한 시작 설명서을 온라인으로 검색하거나 PDF를 다운로드하세요. Canon ImageCLASS MF4270 38 페이지. Canon all in one printer user manual
Canon ImageCLASS MF4270에 대해서도 마찬가지입니다: 시작 설명서 (36 페이지)

Checking the Installation
Check if the driver is installed successfully and if this machine has been set as default printer.
If the name of your machine is selected on the [printer] screen from an application, it is set as default printer.
1
Open the [Printers and Faxes] folder (Windows 2000: the [Printers] dialog box).
Windows XP/Server2003: Click [start] on the Windows task bar
Windows Vista: Click [start] on the Windows task bar
→
Windows 2000: [Start]
[Settings]
Make sure the corresponding printer driver icon is displayed.
2
Set as default printer.
Click the printer icon of this machine. Click [Set as Default Printer] from the [File] menu.
3
Open the [Scanners and Cameras] folder (Windows 2000: the [Scanners and Cameras Properties] dialog
box).
Windows XP/Server2003: Click [start] on the Windows task bar
[Scanners and Cameras].
Windows Vista: Click [start] on the Windows task bar
and Cameras].
→
Windows 2000: [Start]
[Settings]
Make sure the corresponding scanner driver icon is displayed.
4
Check if there is the [Canon MF Toolbox 4.9] icon on the Windows desktop.
If the [Canon MF Toolbox 4.9] icon is displayed on the Windows desktop, installation of the MF Toolbox 4.9 has been successful.
→
select [Printers and Faxes].
→
select [Control Panel]
→
→
[Control Panel]
double-click [Printers].
→
select [Control Panel]
→
select [Control Panel]
→
→
[Control Panel]
double-click [Scanners and Cameras].
Software Settings with Computer
→
→
[Hardware and Sound]
double-click [Printer].
→
[Printers and Other Hardware]
→
→
[Hardware and Sound]
double-click [Scanners
→
31
