Canon iR1022 설치 절차 - 페이지 18
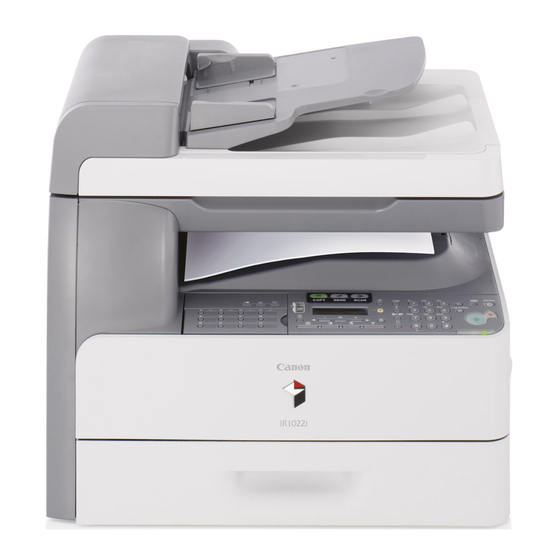
{카테고리_이름} Canon iR1022에 대한 설치 절차을 온라인으로 검색하거나 PDF를 다운로드하세요. Canon iR1022 20 페이지. Copy print and fax
Canon iR1022에 대해서도 마찬가지입니다: 사용자 설명서 (25 페이지)
Chapter 1
1.1.4
Registering
Card IDs
/ / / / iR1018 / iR1018J / / iR1022A / iR1022F /
iR1022i / iR1022iF /
After installing the card reader-E1, register the card
numbers to be used in the service mode of the iR body.
If they are not registered, cards will not be recognized
when inserted.
1) Plug the power cord into the outlet, and then turn on
the main power switch.
2) Press the following keys to display the service
mode screen:
Additional Functions Key > 2 Key > 8 Key > Addi-
tional Functions Key
3) Select "# ACC" using the + and - key, and then
press the OK key.
4) Select "CARD" using the + and - key, and then
press the OK key.
5) Specify the first ID number of the card ID numbers
to be registered, and then press the OK key.
Sequential Card ID numbers of 100 cards(*) are au-
tomatically registered in the department ID, starting
with the specified card ID number.
* Flash ROM 32MB model or When an optional
ROM is added, card ID numbers of 1000 cards are
registered.
6) Press the Additional Functions key to enter the user
mode.
7) Select "SYSTEM SETTINGS" using the + and -
key, and then press the OK key.
8) Select "MANAGE DEPT. ID" using the + and -
key, and then press the OK key.
9) Select "ON" using the + and - key, and then press
the OK key.
10) Turn main power switch off and on again. Check
that "INSERT CARD" appears.
10
the
0013-4623