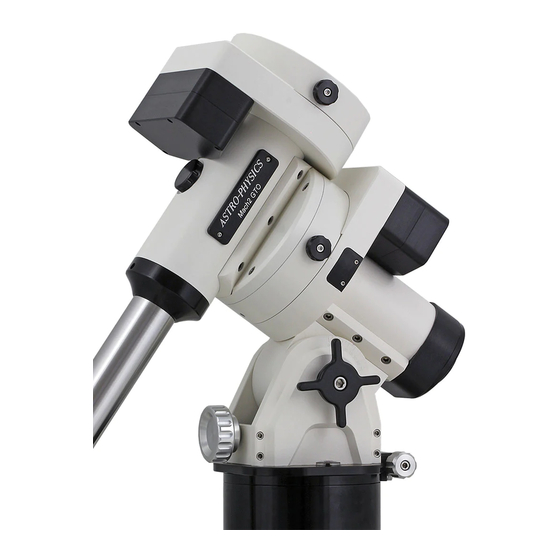
ASTRO-PHYSICS 900 German Equatorial 빠른 시작 매뉴얼 - 페이지 2
{카테고리_이름} ASTRO-PHYSICS 900 German Equatorial에 대한 빠른 시작 매뉴얼을 온라인으로 검색하거나 PDF를 다운로드하세요. ASTRO-PHYSICS 900 German Equatorial 2 페이지. Polar alignment telescope and illuminator (pasill)
ASTRO-PHYSICS 900 German Equatorial에 대해서도 마찬가지입니다: 매뉴얼 (12 페이지), 매뉴얼 (3 페이지)

altitude position). Some resistance will be
felt with this operation as you are pushing
against the weight of the polar housing and
the resistance of the remaining polar axis
pivot screw (which has not been loosened).
4.
Before attempting to remove or move the
altitude adjuster bar, you must tighten the
altitude-locking knob on the motor/gear
housing side. This will prevent any
downward movement of the polar axis during
positioning of the altitude adjuster bar.
5.
While supporting the altitude adjuster bar,
remove the two screws that support it on
each side (4 screws in all). If upgrading,
gently remove your old Altitude Adjuster Bar.
If you are changing latitude positions, keep
the two ends of the bar in contact with the
side of the mount, don't remove it completely (this tip is for your convenience).
6.
Determine the latitude range that you need and position the altitude adjuster bar so
that the hole that is marked "A", as shown in the diagram, is located at the
appropriate hole position numbered 1-4 in the lower diagram. Note that hole "A" is
located at the rounded part in the center of the altitude bar. Hole "A" is the "latitude
hole."
7.
Attach two of the screws (one on either side of the adjuster bar) through the
appropriate altitude adjustment position hole and into hole A of the adjuster bar, but
do not tighten. Rotate the altitude adjuster bar around this pivot point until the
corresponding hole lines up. Consult the diagram to determine which hole of the
altitude adjuster bar should be used. Be very careful since the holes marked C and B
are very close to one another, as are the holes marked D and E. The incorrect hole
may appear to line up, however it will be slightly off. If you try to attach at the incorrect
hole, you may strip the threads of the altitude bar. The correct hole will orient the
adjuster to be roughly perpendicular to the axis once the axis is lowered into place.
8.
Once you have located the correct hole, insert the remaining two screws, and lightly tighten so that you still have
some ability to wiggle the bar.
9.
Note that the altitude adjustment knob is attached to a
threaded rod that travels through the altitude adjuster bar. Turn
the knob so that the altitude adjuster bar is positioned
approximately in the middle of the threaded rod. You should
see about half of the threaded rod protruding from both sides
of the altitude adjuster bar. This will allow you to move the
mount fully within the altitude range.
10. At the end of the threaded rod mentioned in the last step, you
will see a small brass altitude adjuster thrust pad. This is the
part that will come in contact with the polar axis as you ease it
back into position. Loosen the altitude-locking knob
(motor/gear side) and lower the polar axis so that it rests
comfortably on this pad. The threaded rod should be
positioned at a right angle to the polar axis housing. Firmly
tighten the altitude adjuster bar fixing screws.
11. Turn the altitude adjustment knob to raise or lower the polar
axis to your approximate observing latitude. Tighten the
altitude locking knobs with finger pressure only. You do not
need to tighten with the hex key.
12. Firmly tighten both polar axis pivot screws with the hex key.
2-1-06
2
