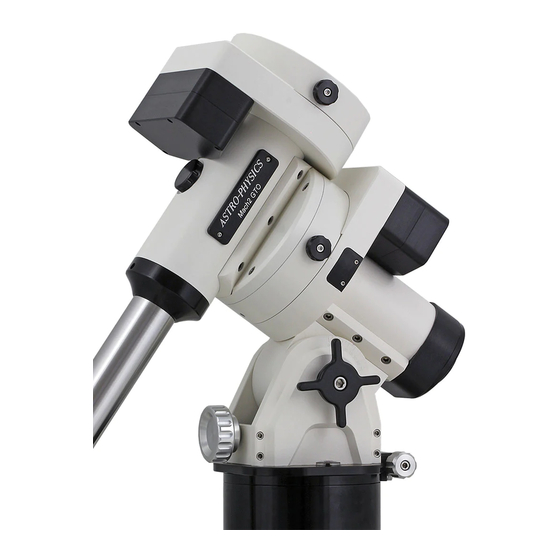
ASTRO-PHYSICS 900 German Equatorial 매뉴얼 - 페이지 5
{카테고리_이름} ASTRO-PHYSICS 900 German Equatorial에 대한 매뉴얼을 온라인으로 검색하거나 PDF를 다운로드하세요. ASTRO-PHYSICS 900 German Equatorial 12 페이지. Polar alignment telescope and illuminator (pasill)
ASTRO-PHYSICS 900 German Equatorial에 대해서도 마찬가지입니다: 빠른 시작 매뉴얼 (2 페이지), 매뉴얼 (3 페이지)

FITTING RIGHT ASCENSION ENCODER HOUSING
Since the polar alignment telescope and R.A. encoder adapter thread into the same location, you will need to switch
back and forth between them as needed. This is good time to familiarize yourself with the removal and replacement of
the R.A. encoder housing and encoder adapter.
If you use the JMI NGCMAX or MiniMAX Digital Setting Circles, you can use the "polar align" mode in these units
instead of a polar alignment finder scope! Please continue to read these directions anyway, since you may need to
remove and reinstall the encoders if you use a polar alignment scope. The 900 mount is always supplied with the
encoders installed.
1. To remove: Unscrew R.A. encoder housing and R.A. encoder adapter.
2. To replace: Thread the R.A. encoder adapter into the end of your R.A. axis. If your polar alignment scope is fitted,
you must remove it first. Use only moderate hand pressure to tighten the R.A. adapter since you will need to
remove it again.
3. If you look at the black encoder housing, you will see the black encoder itself mounted at the rear of the housing.
When this installation procedure is complete, the encoder shaft will insert into the center hole of the R.A. encoder
adapter. This allows the encoder to read the motion of the R.A. shaft as the right ascension moves.
4. Now thread the R.A. encoder housing onto the R.A. axis housing. You may need to wiggle the encoder housing
gently to engage the shaft of the encoder
(located within the R.A. axis housing) with
the hole in the center of the R.A. encoder
adapter. Again, use moderate hand
pressure, as you will need to remove this
later.
The hardware for your encoders is now installed.
For actual set-up procedures for the "MicroMAX,"
"MiniMAX" or "NGCMAX" digital computers, refer
to the relevant operating manual.
If you remove the R.A. encoder frequently, you
may wish to use a very tiny amount of auto
grease on the mating threads.
ALTITUDE AND AZIMUTH ADJUSTMENTS – ROUGH POLAR ALIGNMENT (
Follow these instructions if you want to rough polar align your mount. If not, you may skip this section and move on to
Assemble Declination and Right Ascension Axes.
You may polar align your mount with the telescope and counterweights attached. This is important for accurate polar
alignment. However the adjustment will require considerably more hand effort, so for rough polar alignment, you may
wish to leave your scope and counterweights off.
For rough polar alignment, your goal is to sight the celestial pole when looking through the polar alignment sight hole in
the center of the polar axis. You will need to make altitude (up/down) and azimuth (side to side) adjustments to the
position of the mount.
1. Remove the R.A. encoder housing and encoder adapter as described in the previous section.
2. If you examine the polar axis assembly, you will see that the center of the R.A. shaft is hollow. The end of the R.A.
axis is threaded to accept the polar axis telescope used for polar alignment. You do not need the polar alignment
scope for this part of the process. If you have not done so already, loosen (1/2 turn) the four pier knobs.
NOTE: If you have already attached the Dec. axis, remove the sight hole cover and rotate the internal Dec. shaft
by moving the top of the Dec. axis (or the mounting plate if it is attached) to reveal the sight hole that has been
drilled into it. Now, you can look through the shaft to the other side.
3. Azimuth adjustments: Move the entire pier or tripod east or west until the mount is oriented approximately towards
the pole (an imaginary line drawn through the hollow shaft). Use the two fine azimuth adjustment knobs, one on
- 5 -
for casual observation)
