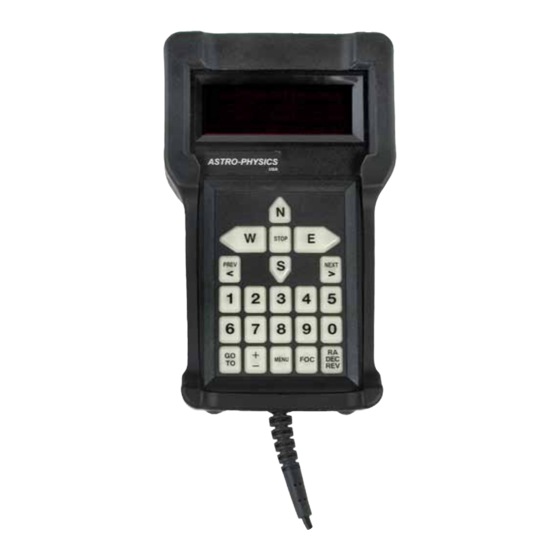
ASTRO-PHYSICS 1565GTO 유지 관리 지침 매뉴얼 - 페이지 10
{카테고리_이름} ASTRO-PHYSICS 1565GTO에 대한 유지 관리 지침 매뉴얼을 온라인으로 검색하거나 PDF를 다운로드하세요. ASTRO-PHYSICS 1565GTO 17 페이지.

RePlaCing YouR gto KeYPad batteRY
(keypads 1565GTO and earlier)
see identifying Your Keypad battery in previous section.
Keypads with this battery are past warranty since the last of this generation shipped in mid 2003. these instructions are
onlY for keypads that use the Renata cR1632 - 3 volt lithium battery. Your keypad may have a different battery if it has
had major repair work done.
tools and parts needed:
●
Phillips screwdriver, size #0
●
2 small screwdrivers: 2 mm & 3 mm tips
●
Keypad with Keypad Protector removed (partially removed is oK - see KeYPRo instructions)
●
new battery: Renata cR1632 (3v) or equivalent) - aP # e0310
additional helpful documents in Previous sections:
●
Removing and installing the KeYPRo Keypad Protector
●
opening and closing the Keypad
●
identifying Your Keypad battery
Please note: Previous instructions that were published on the web were written before internet-based downloading of
the database was available. it was therefore recommended that you leave your keypad powered up during the battery
replacement so that the database would not corrupt. it was felt that the risk of damage posed by working on a "live"
keypad was worth it to prevent the necessity of returning the keypad to us for a database reload. this also assumed that
the battery was being replaced as a preventive measure before the database actually corrupted. experience has since
taught us that batteries are rarely replaced before the database has corrupted. We now also have the database loader on
our website so that you can easily reload the database yourselves.
With these factors in mind, we now strongly recommend that you not have your keypad powered up during this
procedure. the risk of damage to the sensitive electronics is too great. (at 12 volts, there was never any danger to
personal safety.)
We are also recommending a somewhat different method of battery removal from the one previously published. again,
experience and experimentation have given us a better approach to removing and reinserting the battery without damaging
the battery carrier. if you are familiar with the previous method, please take note of the new procedure outlined below.
Remove the battery
1. unscrew the six screws in the corners on the back of the
keypad with a #0 Phillips screwdriver. the screws do not
need to be removed completely.
more detailed instructions on opening and closing the key-
pad are referenced in a previous section.
2. carefully open the keypad, taking care to make sure that
the white nylon spacer-washers on the screws are not lost.
they are important safeguards for both the electronic com-
ponents and the case! lay both halves of the keypad with
the wires still connected flat on your work space.
3. locate the cR1632 battery in its clip holder on the circuit
board. You may wish to unplug the display's ribbon cable,
and possibly the blue plug just to the left of the battery be-
fore changing the battery. it is not necessary to do so, but it
does give you more room to work. be very careful that you
don't damage the ribbon cable, and take note of exactly how
everything is plugged in so that you put it all back correctly.
Blue Plug
Renata CR1632
Battery
9
Real Time
Display Ribbon
Clock
Cable Plug
