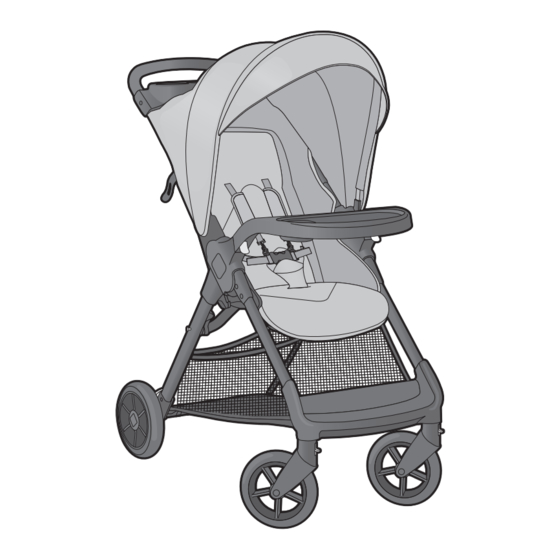
Dorel Safety 1st Smooth Ride TR463 매뉴얼 - 페이지 5
{카테고리_이름} Dorel Safety 1st Smooth Ride TR463에 대한 매뉴얼을 온라인으로 검색하거나 PDF를 다운로드하세요. Dorel Safety 1st Smooth Ride TR463 12 페이지.

Assembly / Armado
1. Unfold Stroller
Unlatch stroller lock (Figure 1).
Lift handlebar (Figure 1a). Stroller will
click when completely opened and
locked.
1. Abra la carriola
Destrabe el seguro de la carriola
(Figura 1).
Levante el manubrio (Figura 1a). Cuando
la carriola esté completamente abierta y
trabada, se oirá un "clic."
NOTE: Hardware for rear wheel assembly is located on axle.
Helpful Hint: For ease of removal and assembly of cotter pin use needle nose pliers.
2. Install Rear Wheels
Push axle through rear legs. Slide the smooth
end of axle through rear legs first (Figure 2a).
Place one washer on the axle (Figure 2b). With
the spokes facing out, slide a wheel onto the
axle. Slide on a second washer.
Insert straight side of cotter pin through hole
in axle (Figure 2c) and push until the cotter pin
snaps onto the axle. Repeat for other side.
Snap hubcaps onto both wheels (Figure 2d).
NOTA: Las elementos de ferretería para el
armado de las ruedas traseras se encuentran
en el eje. Sugerencia útil: Para retirar y armar
fácilmente el pasador de chaveta, utilice la
pinza de punta aguja.
2. Instale las ruedas traseras
Encaje el eje en las patas traseras. Deslice el
extremo liso del eje a través de las piernas traseras
primera (Figura 2a).
Deslice una arandela en el eje (Figura 2b). Con los
rayos de la rueda hacia fuera, deslice la rueda en el
eje. Deslice una segunda arandela.
Inserte el lado recto del pasador de chaveta a
través del orificio del eje (Figura 2c) y empuje
hasta que el pasador de chaveta encaje en el eje.
Repita para el otro lado.
Encaje los tapones de los cubos en ambas ruedas
(Figura 2d).
3
1
1a
2
2a
2 Washers
2 Arandelas
2b
2c
