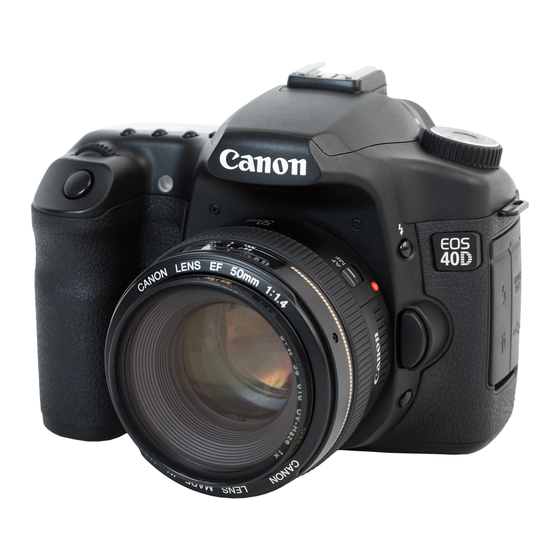
Canon Eos 1ds mark ii 사용 설명서 - 페이지 8
{카테고리_이름} Canon Eos 1ds mark ii에 대한 사용 설명서을 온라인으로 검색하거나 PDF를 다운로드하세요. Canon Eos 1ds mark ii 28 페이지. Full line product guide spring 2009
Canon Eos 1ds mark ii에 대해서도 마찬가지입니다: 사용 설명서 (41 페이지), 소프트웨어 설명서 (2 페이지), 소프트웨어 설명서 (2 페이지), 제품 설명서 (39 페이지)

Downloading Images from Your Camera
You can download shot images saved on the CF card in your camera to your computer using
EOS Utility, software for the camera.
For detailed instructions on EOS Utility, refer to the "EOS Utility Instruction Manual".
Start up ZoomBrowser EX
1
(p.1-1)
Click [Acquire & Camera Settings].
2
[Acquire & Camera Settings] menu
appears.
Click [Connect to EOS Camera].
3
[EOS Utility] starts up.
Connect the camera to your computer with the interface cable and
4
set the camera's power switch to <ON>.
Click the [Starts to download images] button in [EOS Utility].
5
The images are downloaded to the computer and the downloaded images are
displayed in the ZoomBrowser EX main window.
When downloading images using a third-party card reader, insert the memory card
removed from the camera in the card reader, and click [Acquire Images from Memory
Card] in step 3. The image download window appears. You can then download images
by clicking the [Starts to download images] button. For detailed information on
downloading images using a third-party card reader, refer to "Downloading Images Using
Your Card reader" in the "EOS Utility Instruction Manual".
Displaying Images
The images in the folder selected in the folder area are displayed in the image display area.
Select the folder where the images to be displayed are saved.
The images in the folder are displayed in
the main window.
.
Handling the Folders
You can handle the folder from the menu that appears by clicking the folder with the right button
on the mouse.
Click on the folder with the right button on the mouse and select
an option from the menu that appears.
Registering Frequent Use Folder
You can register a frequently used folder as a [Favorite Folders].
Select the [All Folders] tab.
1
Select the folder you want to
2
register and then click the [Add to
Favorites] button.
The folder is displayed as [
]
Select the [Favorite Folders] tab.
3
The registered folder appears.
Alternatively, you can register a favorite
folder in the dialog box displayed when
you click the [Add] button in the [Favorite
Folders] tab sheet.
To remove the registered folder, click the
[Remove] button in the [Favorite Folders]
tab sheet.
The removed registered folder is deleted only from the [Favorite Folders] tab sheet and
the actual folder or images inside the folder are not deleted.
Cover/Table of
Contents
Introduction
1
Viewing and
Classifying Images
2
Editing and
Exporting Images
3
Printing Images
4
Internet Function
and Specifying
Preferences
Troubleshooting
Index
1-3
