[Log and Transfer] Window View and File Conversion
1
Start up Final Cut Pro, select [File]
Transfer], and then open the [Log and Transfer]
window.
2
Select [Canon DSLR Movie] in [Preferences].
3
Select the files you want to convert, and then click
the [Add Selection to Queue] button to download
them.
The files you want to convert are converted into the file type
specified in step 2.
For details on the [Log and Transfer] window, refer to the Help for
Final Cut Pro.
In the [Log and Transfer] window, you can display the following
shooting information for the files before their conversion.
(1) Aperture [Av (Aperture Value)], (2) Shutter speed [Tv (Shutter
Speed)], (3) ISO speed [ISO Speed], (4) Lens name [Lens], (5)
Focal length [Focal Length], (6) Camera name [Device Model
Name], and (7) Camera serial number [Device Serial Number]
To select and display information items, click on item names in
the window such as [Name] or [Volume] while holding down the
<control> key, and select from the menu that appears.
If there is already a file with the same filename in the save
destination, the newly converted file is saved with a different
filename.
[Log and
(1) Select the files converted to ProRes format in the [Browser]
(2) Set [Field Dominance] to [None] if it is set to [Upper (Odd)]
After converting MOV movies shot with an EOS DIGITAL camera
into ProRes format using this plug-in, be sure to do the following
before editing in [Timeline].
window
Movies shot with cameras other than compatible cameras
(
1D Mk IV
5D Mk II
7D
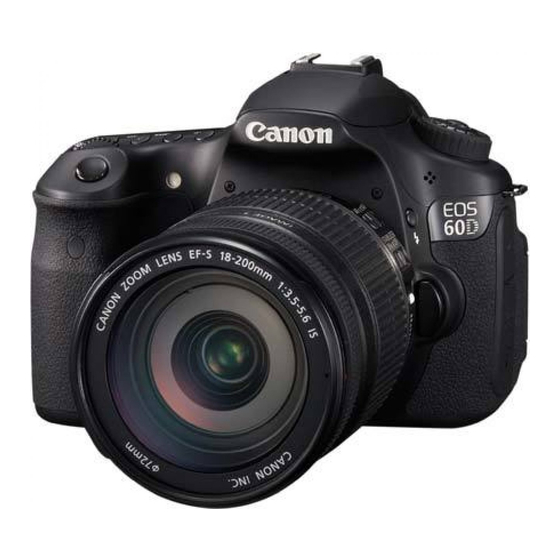
60D
present software.
) are not supported by the
3

