Advance acoustic ALL CLEANER 사용 지침 및 부품 목록 - 페이지 3
{카테고리_이름} Advance acoustic ALL CLEANER에 대한 사용 지침 및 부품 목록을 온라인으로 검색하거나 PDF를 다운로드하세요. Advance acoustic ALL CLEANER 13 페이지. Models: 56380772, 56381594

INTRODUCTION
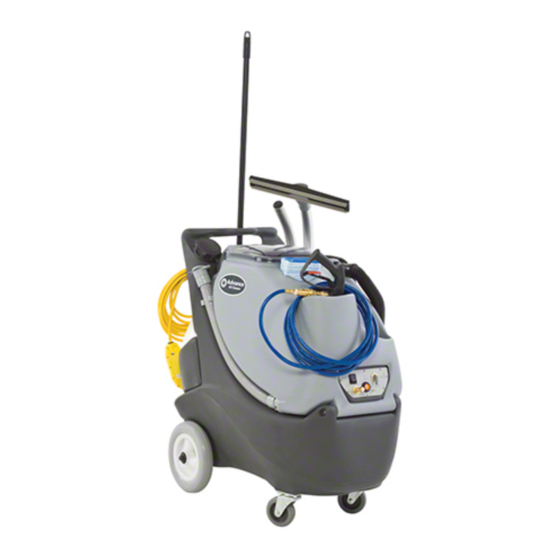
This manual will help you to get the most from your Advance All Cleaner. Read it thoroughly before operating the machine.
This product is intended for commerical use only.
PARTS AND SERVICE
Repairs, when required, should be performed by Advance service personnel using original replacement parts and accessories. Call Advance for repair
parts or service.
Please specify the Model and Serial number when calling about your machine.
NAME PLATE
The model and serial number of your machine are shown on the Name Plate on the machine.
This information is needed when ordering parts for the machine.
Use the space below to note the model and serial numbers of your machine.
MODEL NUMBER/NAME: __________________________________________________
SERIAL NUMBER: ________________________________________________________
UNPACKING
When the machine arrives, carefully inspect the shipping carton and the machine for damage. If damage is evident, save the shipping carton so that it
can be inspected by the carrier. Contact the Advance customer service department immediately to fi le a freight damage claim.
DO NOT OPERATE THE MACHINE UNTIL YOU HAVE READ THIS SECTION
IMPROPER USE WILL VOID THE WARRANTY
Always use a defoamer when foaming occurs to prevent vacuum motor damage.
To keep fi ttings, pumps, and lines from damage during freezing conditions, use RV anti-freeze in the pump or keep the machine inside heated
areas.
Do not let the pump run dry.
All chemicals should be added through the feed system and NOT in the tank.
All extension cords must have a rating of at least 12/3 (12 gauge cord). Extension cords should be no longer than 50 feet. Replace the plug
immediately if the ground prong becomes damaged or is broken off.
DO NOT use water heated to greater than 120 °F (54 °C).
120VAC GROUNDING INSTRUCTIONS
This appliance must be grounded. If it should electrically malfunction, grounding provides a path of least resistance for electric current to reduce the risk
of electric shock. This appliance is equipped with a cord having an equipment-grounding conductor and grounding plug. The plug must be plugged into
an appropriate outlet that is properly installed and grounded in accordance with all local codes and ordinances.
DANGER!
Improper connection of the equipment-grounding conductor can result in a risk of electric shock. Check with a qualifi ed electrician or
service person if you are in doubt as to whether the outlet is properly grounded. Do not modify the plug provided with the appliance. If it
will not fi t the outlet, have a proper outlet installed by a qualifi ed electrician.
This appliance is for use on a nominal 120-volt circuit, and has a grounding plug that looks like the plug illustrated in Figure 1 below. A temporary
adapter illustrated in Figures 2 and 3 may be used to connect this plug to a 2-pole receptacle as shown in Figure 2 if a properly grounded outlet is not
available. The temporary adapter should be used only until a properly grounded outlet (Figure 1) can be installed by a qualifi ed electrician. The green-
colored rigid ear, tab, or the like extending from the adapter must be connected to a permanent ground such as a properly grounded outlet box cover.
Whenever the adapter is used, it must be held in place by a metal screw. Grounding adapters are not approved for use in Canada.
Replace the plug if the grounding pin is damaged or broken.
The Green (or Green/Yellow) wire in the cord is the grounding wire. When replacing a plug, this wire must be attached to the grounding pin only.
Extension cords connected to this machine should be 12 gauge, three-wire cords with three-prong plugs and outlets. DO NOT use extension cords
more than 50 feet (15 m) long.
revised 1/11
PLEASE NOTE: FOR NORTH AMERICA ONLY
FORM NO. 56380890 - 3
