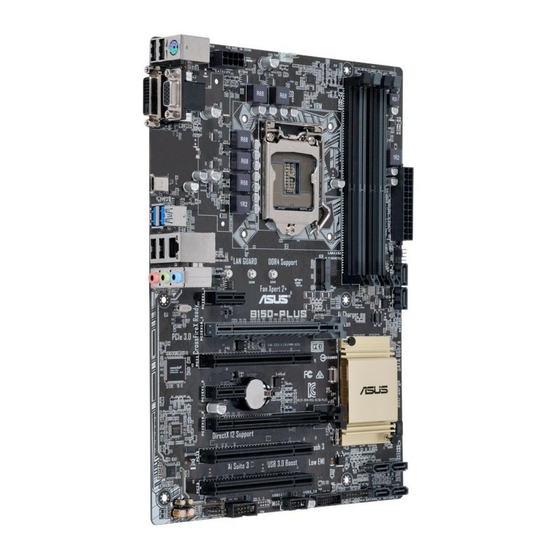
Asus B150-A 기술 매뉴얼 - 페이지 7
{카테고리_이름} Asus B150-A에 대한 기술 매뉴얼을 온라인으로 검색하거나 PDF를 다운로드하세요. Asus B150-A 18 페이지. Pin definition
Asus B150-A에 대해서도 마찬가지입니다: 사용자 설명서 (27 페이지)

5.
Single USB 2.0 connector (5-1 pin)
This connector is for a USB 2.0 port. Connect the USB module cable
to this connector, then install the module to a slot opening at the back
of the system chassis. This USB connector complies with USB 2.0
specifications and supports up to 480Mbps connection speed.
6. ATX power connectors (24-pin EATXPWR, 8-pin EATX12V, 4-pin EATX12V)
These connectors are for ATX power supply
plugs. The power supply plugs are designed to fit
these connectors in only one orientation. Find the
proper orientation and push down firmly until the
connectors completely fit.
•
For a fully configured system, we recommend that you use a power supply unit
(PSU) that complies with ATX 12 V Specification 2.0 (or later version) and provides a
minimum power of 350 W.
•
DO NOT forget to connect the 4-pin/8-pin ATX +12V power plug. Otherwise, the
system will not boot up.
•
We recommend that you use a PSU with higher power output when configuring a
system with more power-consuming devices or when you intend to install additional
devices. The system may become unstable or may not boot up if the power is
inadequate.
•
If you are uncertain about the minimum power supply requirement for your system,
refer to the Recommended Power Supply Wattage Calculator at http://support.asus.
com/PowerSupplyCalculator/PSCalculator.aspx?SLanguage=en-us for details.
7.
Speaker connector (4-pin SPEAKER)
The 4-pin connector is for the chassis-mounted system warning speaker.
The speaker allows you hear system beeps and warnings.
Motherboard Pin Definition
PIN 1
ATX12V
EATX12V
+3 Volts
+12 Volts
+12 Volts
+5V Standby
Power OK
PIN 1
+5 Volts
+5 Volts
+3 Volts
+3 Volts
PIN 1
USBE5
EATXPWR
GND
+5 Volts
+5 Volts
+5 Volts
-5 Volts
GND
GND
GND
GND
GND
PSON#
GND
GND
-12 Volts
+3 Volts
PIN 1
SPEAKER
1-7
