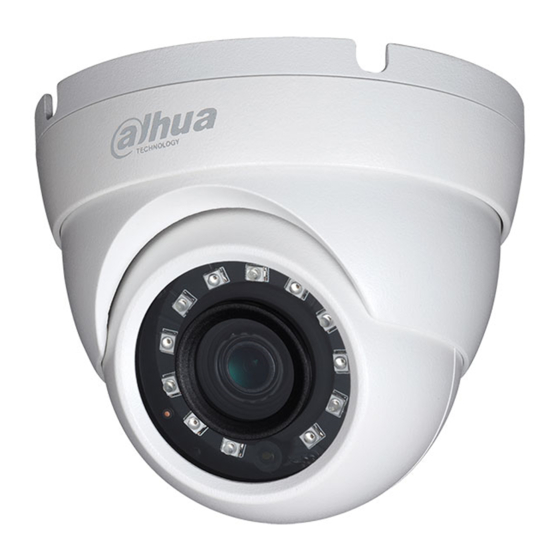
Dahua HAC-HDW2231M 사용자 설명서 - 페이지 10
{카테고리_이름} Dahua HAC-HDW2231M에 대한 사용자 설명서을 온라인으로 검색하거나 PDF를 다운로드하세요. Dahua HAC-HDW2231M 18 페이지. Hdcvi camera

Step 1
Dismantle the pedestal ③. There are two ways to dismantle the pedestal according to different
models.
Model A: Press ④ shown in Figure 4-1 to make the pedestal open. Press the dome cover
location below the outlet exit to separate the pedestal from the enclosure.
Model B: Loosen the locking screw counterclockwise to separate the pedestal from the
enclosure.
Step 2
Take out the installation position map from the accessories bag, paste it on the ceiling or wall
① and dig holes on the installation surface according to the installation position map.
Step 3
Use tools to fix the expansion bolts ② into the installation holes.
Step 4
Adjust the pedestal ③ location (pull the cable through side cable slot if it is side cable outlet).
Align the bolt fixing hole of device pedestal with the expansion bolt fixing holes of the
installation surface; insert the self-tapping screws ⑤ into the expansion bolts ② and secure
them firmly to fix the pedestal on the installation surface (if it is top outlet, pull the cable
through the outlet hole on the installation surface after the pedestal is fixed firmly)
Step 5
Install dome body ⑥ and enclosure ⑦. It includes following two installation modes according
to different models.
Model A: Put the enclosure together with the dome body into the pedestal, rotate both the
enclosure and dome body to a proper monitoring location.
Model B: Put the enclosure together with the dome body into the pedestal, twist the
locking screw clockwise and fix it preliminarily; rotate the enclosure and dome body to
proper monitoring location; finally tighten the locking screw firmly to fix it completely.
So far, the device installation and cable connection have been completed, you can check
monitoring image via back-end encoding device.
4.2 Installation for Model C and Model D
6
