Baumer CleverLevel LBFH/I 사용 설명서 - 페이지 10
{카테고리_이름} Baumer CleverLevel LBFH/I에 대한 사용 설명서을 온라인으로 검색하거나 PDF를 다운로드하세요. Baumer CleverLevel LBFH/I 48 페이지. Point level detection – hygienic/industrial level measurement
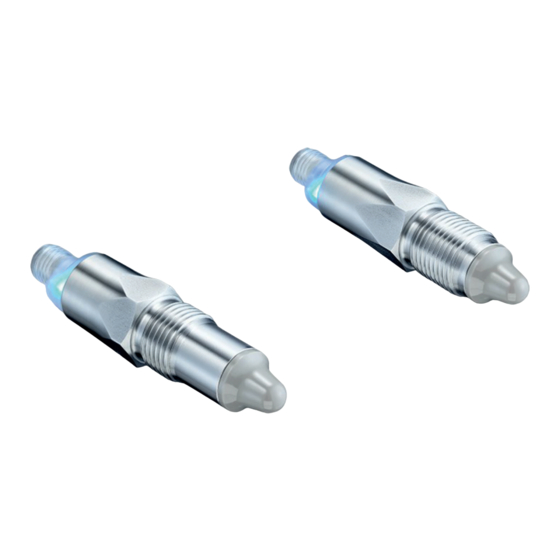
CleverLevel
Point level detection – hygienic/industrial
8.
Configuration
The sensor can be configured either via qTeach,
remote teach, FlexProgrammer or IO-Link. If
formation of foam or adhesion of media have to be
detected, a configuration with the FlexProgrammer
will be necessary.
If for both switch outputs different switch points or
media have to be configured, a configuration with
FlexProgrammer or qTeach is also necessary.
Configuring with qTeach (Standard version)
Via qTeach, the switch points SW1 and SW2 can
be configured independently. Switch output SW1
is NO (normally opened) and switch output SW2 is
NC (normally closed).
Configuration is only possible during the first
5 minutes after connecting the voltage supply.
After that, qTeach will be locked.
Note: For a graphical overview of the configuration
procedure refer to "14.5 Configuration procedure
with qTeach" on page 16.
9 Sensor is connected.
Hold screwdriver or other metal object on the
f
qTeach detector.
10 / 48
Level measurement
LBFH/I
®
Operating Instructions
The LED is blinking magenta at 1 Hz for
3 seconds. For selecting the switch the LED
alternates between yellow and blue in 2 second
intervals.
When the LED has the color of the desired
f
switch, remove the screwdirver or metal object
from the qTeach detector to select the according
switch:
SW1: yellow
SW2: blue
The LED is blinking in the selected color at 0.5 Hz.
Put the sensor tip into the media and touch the
f
qTeach area.
The LED flashes in the selected color while the
teaching process is running.
For selecting the switching window the LED
alternates between green, cyan and white in
2 second intervals.
Hold screwdriver or other metal object on the
f
qTeach detector.
When the LED has the color of the desired
f
switching window, remove the screwdriver or
metal object from the qTeach detector to select
the according switching window:
Switching window ±12%, hysteresis 4%: green
Switching window ±6%, hysteresis 2%: cyan
Switching window ±3%, hysteresis 1%: white
The configuration is complete and the changes are
saved.
If the DC value of the media is too close to air, the
most narrow switching window has to be selected.
If the LED flashes red (indicating an error) or
if the configuration time of 5 minutes has been
exceeded, no changes are saved.
To restart the configuration disconnect and
f
reconnect the voltage supply.
Configuration via qTeach is enabled in the factory
settings and can be disabled by the user.
www.baumer.com