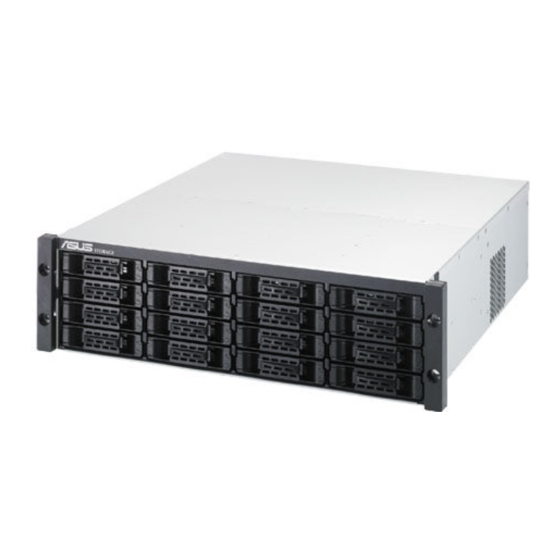
Asus DS300f 빠른 시작 매뉴얼 - 페이지 7
{카테고리_이름} Asus DS300f에 대한 빠른 시작 매뉴얼을 온라인으로 검색하거나 PDF를 다운로드하세요. Asus DS300f 17 페이지. Quick start guide
Asus DS300f에 대해서도 마찬가지입니다: 빠른 시작 매뉴얼 (47 페이지)

Task 3: Installing Disk Drives
The ASUS Storage DS300F and DS300I subsystems and DS300j expansion
units support:
•
SAS and SATA hard disk drives
•
3.5-inch hard disk drives
For a list of supported physical drives, download the latest compatibility list from
the ASUS support web site http://support.asus.com/.
Drive Slot Numbering
You can install any suitable disk drive into any slot in the enclosure. The diagram
below shows how ASUS Storage's drive slots are numbered. Whether you have
the original or plus carriers, the slots are numbered the same.
Slot numbering is reflected in the ASUS Storage Management and CLU user
interfaces. See Figure 5.
Figure 5. ASUS Storage drive slot numbering
Install all of the drive carriers into the ASUS Storage enclosure to ensure proper
airflow, even if you do not populate all the carriers with disk drives.
Installing Your Disk Drives
1.
Remove a disk drive carrier.
2.
Carefully lay the disk drive into the drive carrier at the front, so that the screw
holes on the sides line up.
3.
Insert the screws through the holes in the drive carrier and into the sides of
the disk drive.
•
Install only the counter-sink screws supplied with the ASUS Storage.
•
Install four screws per drive.
•
Snug each screw. Be careful not to over-tighten.
4.
Reinstall the drive carrier into the ASUS Storage enclosure.
Repeat steps 1 through 3 until all of your disk drives are installed.
7
Task 3: Installing Disk Drives
