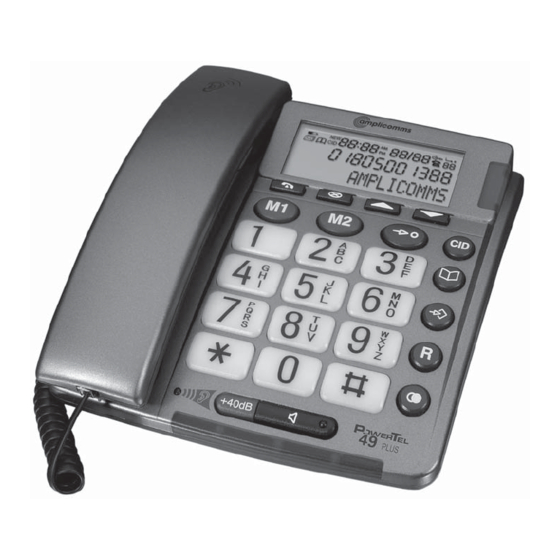
Amplicomms BigTel 49 PLUS 사용 설명서 - 페이지 13
{카테고리_이름} Amplicomms BigTel 49 PLUS에 대한 사용 설명서을 온라인으로 검색하거나 PDF를 다운로드하세요. Amplicomms BigTel 49 PLUS 20 페이지. Emergency telephone

8 Phone Book
6
Thirty−two phone numbers can be stored in the phone book together with
the associated names.
S
Always enter the area access code with the phone numbers so that
the telephone can also assign incoming local calls to a phone book
entry.
S
When the memory capacity of the phone book is used up, the
message MEMORY FULL appears when an attempt is made to
store another number. To create space, an existing entry must first be
deleted.
S
The phone book entries are arranged alphabetically. To skip to the
required phone book entry directly, enter the first letter of the
corresponding entry.
Entering a name
The digit keys are also labelled with letters for the entry of the respective
letters. Pressing the respective key the necessary number of times en-
ables capital letters and digits to be entered.
1
To enter the same letter twice, press the button to enter the letter.
Wait until the cursor skips one place forward. Enter the letter
again.
Creating phone book entries
´
, SAVE?
ë,
ë,
SAVED
Space
Delete
Open the phone book
Activate the saving process and
confirm it
Enter the phone number
(max. 22 digits) and confirm it
Enter the name (max. 16 letters)
and confirm it
Entry is saved
Editing entries in the phone book
´
y or z
3 sec
EDIT? ,
ë,
ë,
SAVED
Deleting entries from the phone book
Deleting a single entry
´
y or z
DELETE?
4 sec or y z
Delete all entries
´
y or z
4 sec DELETE ALL?
4 sec or y z
Phone Book
7
Open the phone book
Select a phone book entry
Activate the editing process
and confirm it
Edit the phone number
(max. 22 digits) and confirm it
Edit the name (max. 16 letters)
and confirm it
Entry is saved
Open the phone book
Select a phone book entry
Activate the deleting process
Confirm the deleting process
or Cancel the deleting process
Open the phone book
Select any phone book entry
Activate the deleting process
Confirm the deleting process
or Cancel the deleting process
13
