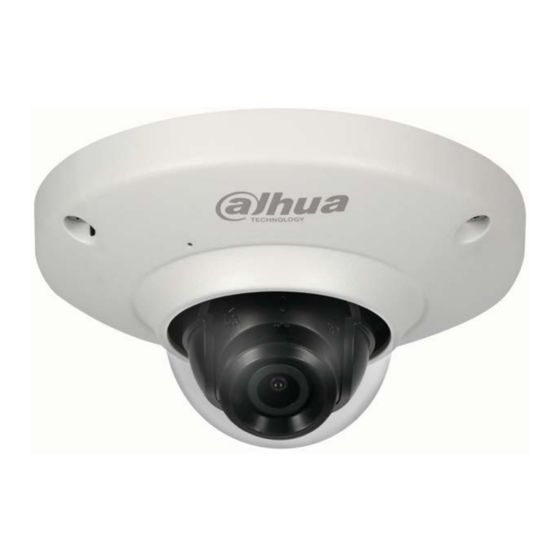
Dahua Technology A42AR2 빠른 시작 매뉴얼 - 페이지 9
{카테고리_이름} Dahua Technology A42AR2에 대한 빠른 시작 매뉴얼을 온라인으로 검색하거나 PDF를 다운로드하세요. Dahua Technology A42AR2 14 페이지. 4 mp fixed hdcvi fisheye camera

4 Device Installation
This section details installing the fisheye camera to a wall or ceiling. Note that the wall or ceiling must
be capable of supporting a minimum of three (3) times the weight of the camera and a bracket (if
used).
Warning: DO NOT connect the camera to the power supply during installation.
Warning: For units intended to be installed outdoors: All wiring connecting to the unit must be routed
separately inside a different permanently earthed metal conduits (not supplied).
Warning: Install external interconnecting cables in accordance to NEC, ANSI/NFPA70 (for US
application) and Canadian Electrical Code, Part I, CSA C22.1 (for CAN application) and in
accordance to local country codes for all other countries. Branch circuit protection incorporating a 20
A, 2-pole Listed Circuit Breaker or Branch Rated Fuses are required as part of the building installation.
A readily accessible 2-pole disconnect device with a contact separation of at least 3 mm must be
incorporated.
Warning: DO NOT remove the protective film from the dome until the installation is complete to
protect the dome from distortions from fingerprints, oil, grease or other contaminants.
Note: Dahua recommends attaching a "drip loop" (flex or hard conduit) during installation to ensure
condensation does not form in the mount or the conduit.
1. Remove the camera, the mounting template, and the hardware package from the box.
2. Apply the mounting template to the mounting medium. Ensure the TOP of the template is directed
to the desired direction.
3. Pre-drill the three (3) perimeter holes for the expansion bolts, using a drill bit that is no wider than
the expansion bolt, according to the position on the mounting template.
4. Insert an expansion bolt into each pre-drilled perimeter hole.
5. Determine the route of the cables exiting the camera:
a. Drill the Cable Outlet hole to route the cable from the camera through the installation
medium.
b. Remove the protective covering from the cable access port on the dome enclosure.
6. Unscrew the three (3) hex screws on the dome enclosure to separate the enclosure from the
camera body.
7. Align the TOP of the camera body with the TOP of the mounting template.
Figure 4-1
7
