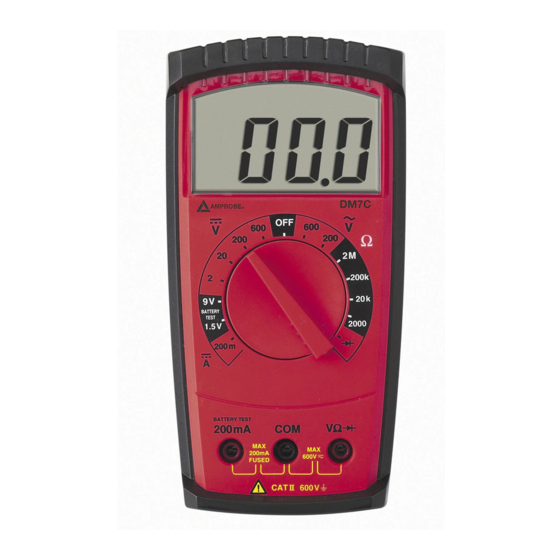
Amprobe DM7C 사용자 설명서 - 페이지 9
{카테고리_이름} Amprobe DM7C에 대한 사용자 설명서을 온라인으로 검색하거나 PDF를 다운로드하세요. Amprobe DM7C 12 페이지.

Current Measurement 200 mA
1) Position measurement function selection switch to 200m measurement range.
2) Connect the black test lead to the COM socket and the red test lead to the 200mA
socket.
3) Connect test leads to UUT.
4) Read the measurement result displayed on the screen.
Changing the batteries
Prior to battery replacement, disconnect the instrument from any circuits.
Only use batteries as described in the specifications.
If the symbol for Low-battery appears in the upper left corner of the display, the
battery must be changed.
This is carried out as follows:
1) Separate the Amprobe multimeter DM7C from any circuit, and remove the test leads.
2) Switch the instrument off
3) Open the housing by removing the 4 screws on the rear face.
4) Remove the old battery.
5) Insert a new battery (type 1 x 9 V IEC 6F22 or 6LR61), taking care that the polarity
is correct. Make sure that no wires are trapped between the 2 halves of the housing,
and close it again.
6) The instrument is now ready for further use.
Please consider your environment when you dispose of. They belong in a dispos-
al area for hazardous waste.
Please, comply with the respective valid regulation regarding the return,
recycling and disposal of used batteries.
If an instrument is not used over an extended time period, the batteries must be
removed. Should the instrument be contaminated by leaking battery cells, the in-
strument has to be returned for cleaning and inspection to the factory.
8
