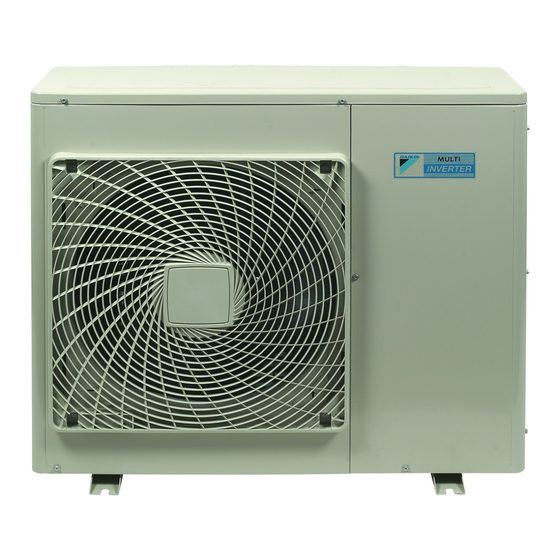
Daikin 5MXS90E3V3B2 설치 매뉴얼 - 페이지 7
{카테고리_이름} Daikin 5MXS90E3V3B2에 대한 설치 매뉴얼을 온라인으로 검색하거나 PDF를 다운로드하세요. Daikin 5MXS90E3V3B2 16 페이지.

Precautions on installation
Check the strength and level of the installation ground so that
the unit will not cause any operating vibration or noise after
installation.
Fix the unit securely by means of foundation bolts in accordance
with the foundation drawing. Prepare 4 sets of M8 or M10
foundation bolts, nuts and washers each (field supply).
It is best to screw in the foundation bolts until their length
remains 20 mm above the foundation surface.
Outdoor unit installation guidelines
Where a wall or other obstacle is in the path of the outdoor unit
air intake or exhaust airflow, follow the installation guidelines
below.
For any of the installation patterns below, the wall height on the
exhaust side should be ≤1200 mm.
Wall facing one side
Side view (unit: mm)
>100
Walls facing two sides
Top view (unit: mm)
>100
>50
Walls facing three sides
Top view (unit: mm)
>50
>350
>350
>50
>100
>350
Selecting a location for installation of the
indoor units
The maximum allowable length of refrigerant piping, and the
maximum allowable height difference between the outdoor and
indoor units, are listed below.
The shorter the refrigerant piping, the better the performance.
Connect so that the piping is as short as possible. Shortest
allowable length per room is 3 m.
Outdoor unit capacity class
Piping to each indoor unit
Total length of piping between all units
If the outdoor unit is positioned higher than the indoor units
(See figure 2)
If the outdoor unit is positioned otherwise (i.e. lower than one or
more indoor units)
(See figure 3)
1
Level difference: ≤7.5 m
2
Level difference: ≤15 m
Refrigerant piping work
All field piping must be installed by a licensed refrigeration
technician and must comply with relevant local and
national regulations.
Installing the outdoor unit
When installing the outdoor unit, refer to
selecting the location" on page 2
installation drawings" on page
If drain work is necessary, follow the procedures below.
Method for installing drain piping
Use drain plug for drainage.
In cold areas, do not use a drain hose with the outdoor unit.
Otherwise, drain water may freeze, impairing the heating
performance.
1
See figure below for installation of the drain plug.
A
B
B
C
C
C
2
Connect a field supplied vinyl hose (internal diameter of 25 mm)
to the drain socket (A).
If the hose is too long and hangs down, fix it carefully to prevent
kinks.
NOTE
If drain holes of the outdoor unit
are covered by a mounting
base or by floor surface, raise
the unit in order to provide a
free
space
of
100 mm under the outdoor unit.
4MXS80
5MXS90
≤25 m
≤70 m
≤75 m
"Precautions for
and
"Indoor/outdoor unit
3.
D
B
A
more
than
Installation manual
D
B
4
