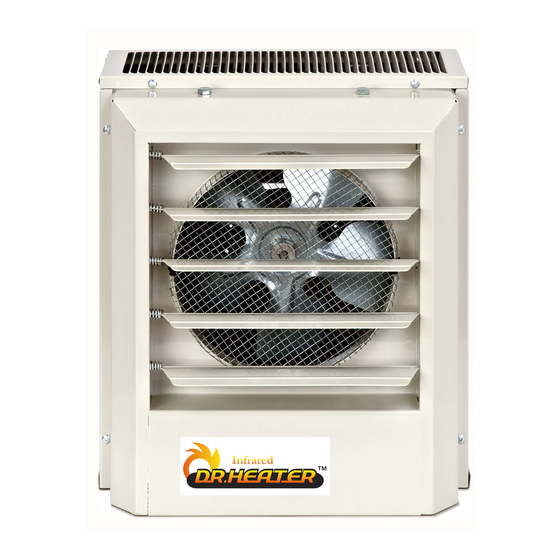
DR. Heater DR-P2100 소유자 매뉴얼 - 페이지 5
{카테고리_이름} DR. Heater DR-P2100에 대한 소유자 매뉴얼을 온라인으로 검색하거나 PDF를 다운로드하세요. DR. Heater DR-P2100 13 페이지. Heavy-duty electric unit heaters

MOUNTING
ROD MOUNTING
HORIZONTAL DISCHARGE
1 Install four threaded mounting rods in the threaded holes and secure in place using lock nuts.
2 Securely attach the four mounting rods to the ceiling. (Refer to Table 1 for wall and ceiling
clearances, and Table 2 for mounting rod spacing)
6 Feet Min. Clearance to Floor
VERTICAL DISCHARGE
1
Remove bolts from the threaded holes in the back of the heaters.
2
Install four threaded mounting rods in the threaded holes and secure in place using lock nuts.
3 Securely attach the four mounting rods to the ceiling. (Refer to Table 1 for wall and ceiling
clearances, and Table 2 for mounting rod spacing dimensions.)
Mounting
Rod(4)
Clearance Equal to Depth of Heater
to Permit Full Opening of The Access
Door
Table 2 - Mounting Rod Spacing
Thread
Model
type
3-5 kW
5/16-18
7.5-10 kW
5/16-18
15-20 kW
5/16-18
Mounting
Rod(4)
Lock Nut
Unit Heater
Lock Nut
Access Door
A
B
6 1/16"
6"
6 1/16"
8 7/8"
11 3/8"
8 7/8"
Threaded
Mounting
Holes(4)
C
D
4 1/16"
3/4"
5 1/8"
3/4"
5 1/8"
3/4"
Threaded
Mounting
Holes(4)
E
F
6"
9 3/4"
8 7/8"
14 5/8"
8 7/8"
14 5/8"
G
H
2"
4 3/16"
2"
5 1/8"
2"
5 1/8"
5
