Dr. Mach MACH 120 Series 장착 지침, 사용 방법 - 페이지 13
{카테고리_이름} Dr. Mach MACH 120 Series에 대한 장착 지침, 사용 방법을 온라인으로 검색하거나 PDF를 다운로드하세요. Dr. Mach MACH 120 Series 19 페이지. Ceiling, wall, new-type stand model
Dr. Mach MACH 120 Series에 대해서도 마찬가지입니다: 사용 설명서 지침 (19 페이지)

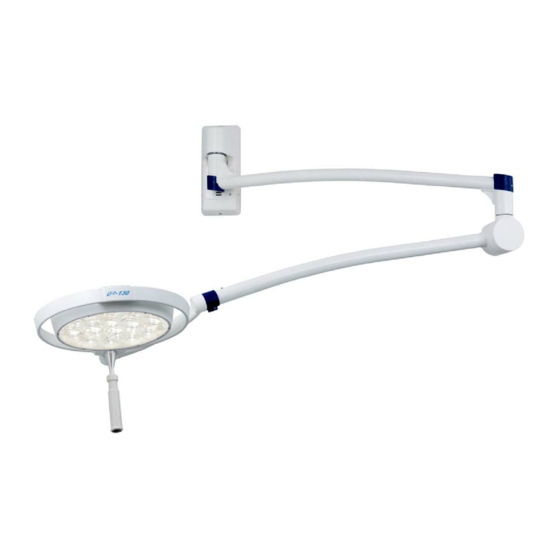
Wall attachment Mach 120/130
Mach LED 120/130
Do not remove screw 13, it is designed
to fix the sliding contact and provides
earthling!
13
3
180°
5
3
13
8
180°
8
10
12
59860002
Attention:
downwards (the arm is under spring tension) it
may bounce up and cause harm. While
mounting the lamp head no other persons are
allowed to be within the swivel range of the
spring arm.
Mounting the lamp Mach 120/120F to the
spring arm
•
•
3
2
1
•
•
•
•
6
4
8
7
12
Mounting the lights Mach LED 120/120F,
Mach LED 130/130F and Mach 130/130F to
the spring arm
•
•
•
•
•
•
11
9
Edition 11
If
the
spring
Loosen brake screw 1, so the plastic bushing 2
can be slipped easy onto the spring arm.
Slip plastic bushing 2 onto the spring arm to
overlap slots 3.
Check if the journal 4 of the lamp is greased.
Insert the greased journal 4 of the lamp and
insert security segment 5 completely into slot 3,
so that the security segment leads in groove 6.
Rotate plastic bushing 2 by 180° up to the
provided drilling for the brake screw and
screw in brake screw 1 until you reach the
desired brake effect for lamp head 4.
Check if lamp head 4 is firmly fixed.
Loosen brake screw 12, so the plastic bushing
7 can be slipped easy onto the spring arm.
Slip plastic bushing 7 onto the spring arm to
overlap slots 8.
Check if the journal 9 of the lamp is greased.
Insert the greased journal 9 of the lamp and
insert security segment 10 completely into slot
8, that the security segment leads in groove 11.
Rotate plastic bushing 7 by 180° up to the
provided drilling for the brake screw and
screw in brake screw 12 until you reach the
desired brake effect for lamp head 9.
Check if lamp head 9 is firmly fixed.
25.25.2011 / Bak Page 13/19
Dr. Mach
Lamps and Engineering
arm
is
pushed
