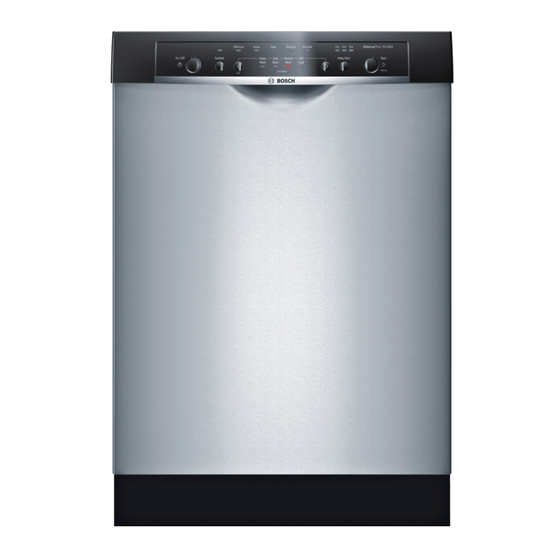
Bosch Ascenta SHE4AM12U 수리 지침 - 페이지 25
{카테고리_이름} Bosch Ascenta SHE4AM12U에 대한 수리 지침을 온라인으로 검색하거나 PDF를 다운로드하세요. Bosch Ascenta SHE4AM12U 50 페이지.
Bosch Ascenta SHE4AM12U에 대해서도 마찬가지입니다: 수리 지침 (27 페이지)

5.2.2
Fascia panel mounted controls (front button models)
Controls are easily removed from fascia panels by prying plastic
tabs.
Tools needed: T-20 Torx & flat blade screwdrivers.
1. Remove fascia panel – section 5.1.2.2.
remove outer door first.
2. To separate panels from dishwashers with separate short
wire harnesses, disconnect harness connectors from both
ends of fascia panel (see below).
4
1. Connector
3. Control jumper harness
5. Handle tray
702_58300000130262_ara_en_c
If needed,
1
1
2
3
6
5
2. On/off switch harness
4. On/off switch
6. Control
3. Disconnect wire harnesses from control.
4. Remove handle trays (1) before removing controls (2). To
remove handle trays, carefully pry in plastic clips.
1
2
5. Remove controls by carefully prying clips from one side to
the other (below left) and gently lifting controls up as you
pry clips.
6. When reassembling fascia panels to doors, make sure
fascia panel tabs enter outer door slots.
m CAUTION – 80% of all controls returned
for analysis check out OK.
issues are due to loose connections.
Most control
Page 25 of 50
