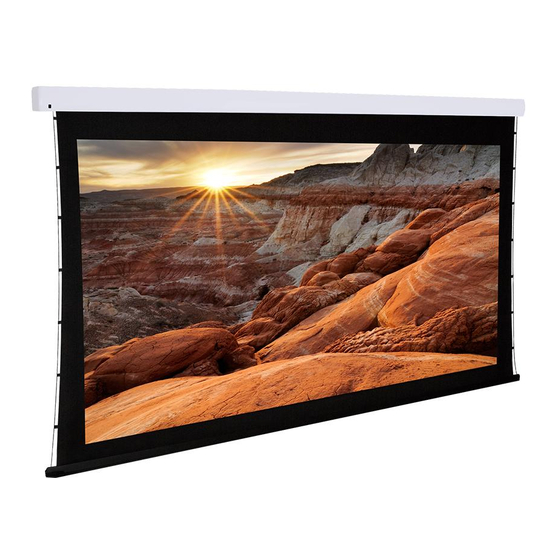
Dragonfly DFM-TAB-106 설치 매뉴얼 - 페이지 8
{카테고리_이름} Dragonfly DFM-TAB-106에 대한 설치 매뉴얼을 온라인으로 검색하거나 PDF를 다운로드하세요. Dragonfly DFM-TAB-106 17 페이지. Dfm-tab screens
Dragonfly DFM-TAB-106에 대해서도 마찬가지입니다: 소유자 매뉴얼 (8 페이지)

DFM-TAB Installation Manual
5.2. Installing the Screen on the Brackets
After the brackets are installed, have an assistant help lift and mount the projection screen.
Upper Groove
Lower Groove
1. Loosen the lock screw on the bottom of each bracket completely by turning the screw on the bottom counter-
clockwise until it stops.
2. Set the screen on the brackets according to the diagram. The screen will hang from the brackets before they
are tightened.
3. Check the position of the screen and make any left or right adjustments as necessary.
4. Tighten the lock screws at the bottoms of the brackets and then check the screen housing using a level.
Make any adjustments necessary.
5. After securing the screen, remove the black bands holding the bottom bar in place.
6. Leave any control wiring separate for the moment, and plug the power cord into a 110V AC outlet.
5.3.Test the Screen
After the screen is secured to the mounting brackets, the unit can be tested. First, make sure the bottom bar of the
screen is moving freely in the housing. If the packing screws/tape were not removed prior to installation, they must
be removed before trying to move the screen position.
Find the manual test switch at the bottom-left side of the screen housing. Press the switch once and the screen
should begin moving down. If nothing happens, make sure that 120 V AC is present at the power outlet.
Allow the screen to move down until it stops on its own, then press the button again. The screen should close
and stop with the bottom bar back in the original position. If everything is working correctly, continue with the
installation. For any issues see the Troubleshooting section on page 13.
Pg. 8
UP
Control
Connections
Manual Power
Button
(Bottom View of Screen)
OVER
Viewing
Area
DOWN
© 2013 Dragonfly
