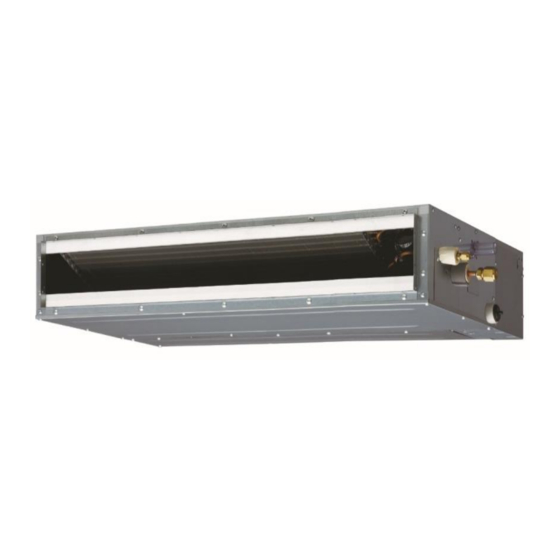
AirStage ARUL12RLAV 설치 매뉴얼 - 페이지 17
{카테고리_이름} AirStage ARUL12RLAV에 대한 설치 매뉴얼을 온라인으로 검색하거나 PDF를 다운로드하세요. AirStage ARUL12RLAV 20 페이지. Indoor unit (duct type)
AirStage ARUL12RLAV에 대해서도 마찬가지입니다: 운영 매뉴얼 (8 페이지)

6.7. Receiver unit (Optional parts)
Connection method
• Connection terminals
Controller PCB
• Wiring arrangement
Controller PCB
• Use 7 pins for receiver unit cable.
• At fi rst, connect the receiver unit cable to the controller PCB.
• Attach the core that comes between controller PCB and the clamp.
• Use conduit hole when external output cable is used.
6.8. Auto louver grille (Optional parts)
Connection method
• Connection terminals
Controller PCB
Receiver unit terminal
(CN18)
Core
Clamp
Auto louver grille terminal (CN12)
• Wiring arrangement
Controller PCB
6.9. Optional parts cable binding
Power supply
cable
Avoid touching the ceiling with the wiring
Ceiling
Do not bind the power supply cable and other cables together.
To protect the cable insulation after opening a knockout hole, remove any burrs from
the edge of the hole.
7. FIELD SETTING
Here are 3 methods for address setting by FIELD SETTING as follows.
Set by either of the methods.
Each setting method is described (1) to (3) below.
(1) IU AD, REF AD SW settings .............. This section (7.1. Setting the address)
(2) Remote controller settings ............... Refer to the wired or wireless remote controller
(3) Automatic address settings ............. Refer to the outdoor unit manual for detailed
Be sure to turn OFF the power before performing the fi eld setting.
Clamp
Binder (Medium/Accessories)
Remote sensor, Receiver unit
and Auto Louver grille
Binder (Medium/Accessories)
External input and external
output
Avoid covering the air inlet
with the wiring.
CAUTION
manual for detailed setting information. (Set IU
AD, REF AD SW to 0)
setting information. (Set IU AD, REF AD SW to 0)
CAUTION
En-16
