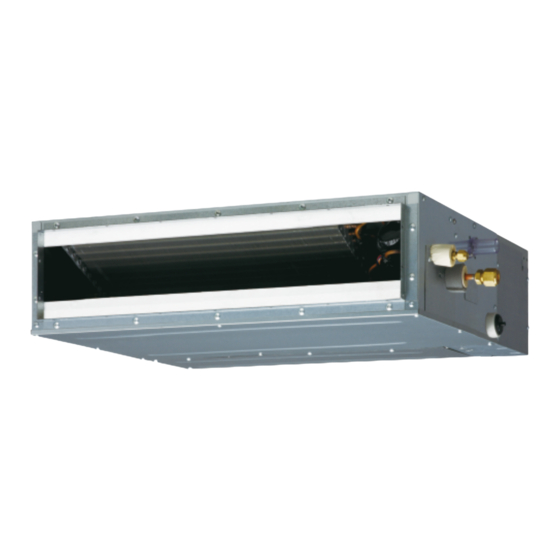
AirStage ARXD04GALH 설치 매뉴얼 - 페이지 17
{카테고리_이름} AirStage ARXD04GALH에 대한 설치 매뉴얼을 온라인으로 검색하거나 PDF를 다운로드하세요. AirStage ARXD04GALH 20 페이지. Indoor unit (duct type)

] 1
6.9. Optional parts cable binding
Power supply
cable
Avoid touching the ceiling with the wiring
Ceiling
Do not bind the power supply cable and other cables together.
To protect the cable insulation after opening a knockout hole, remove any burrs from
the edge of the hole.
7. FIELD SETTING
There are 3 methods for address setting by FIELD SETTING as follows.
Set by either of the methods.
Each setting method is described (1) to (3) below.
(1) IU AD, REF AD SW settings ...... This section (7.1. Setting the address)
(2) Remote controller settings ......... Refer to the wired or wireless remote controller
manual for detailed setting information. (Set IU AD,
REF AD SW to 0)
(3) Automatic address settings ....... Refer to the outdoor unit manual for detailed setting
information. (Set IU AD, REF AD SW to 0)
Be sure to turn OFF the power before performing the fi eld setting.
7.1. Setting the address
Manual address setting method
• If the receiver unit is attached, the indoor unit address and the refrigerant circuit
address can also be set up through the wireless remote controller.
Use an insulated screwdriver to set the DIP switches.
Rotary switch
Example: "0"
Setting
Setting
range
Indoor unit address
0 to 63
Refrigerant circuit
0 to 99
address
Cable tie (Medium/Accessories)
Remote sensor, Receiver unit
and Auto Louver grille
Cable tie (Medium/Accessories)
External input and external
output
Avoid covering the air inlet
with the wiring.
CAUTION
CAUTION
CAUTION
Rotary switch
Example: "0"
Type of switch
Setting
example
2
IU AD × 10
IU AD × 1
Setting
example
63
REF AD × 10
REF AD × 1
(1) Indoor unit address
Rotary switch (IU AD × 1)...Factory setting "0"
Rotary switch (IU AD × 10)...Factory setting "0"
When connecting multiple indoor units to 1 refrigerant system, set the address at IU
AD SW as shown in the Table A.
(2) Refrigerant circuit address
Rotary switch (REF AD × 1)...Factory setting "0"
Rotary switch (REF AD × 10)...Factory setting "0"
In the case of multiple refrigerant systems, set REF AD SW as shown in the Table A
for each refrigerant system.
Set to the same refrigerant circuit address as the outdoor unit.
• If working in an environment where the wireless remote controller can be used, the
addresses can also be set using the remote controller.
• If setting the addresses using the wireless remote controller, set the indoor unit
address and refrigerant circuit address to "00".
(For information on setting using the wireless remote controller.)
Table A
Rotary
Address
Switch Setting
REF AD SW
Refrigerant circuit
× 10
0
0
1
0
2
0
3
0
4
0
5
0
6
0
7
0
8
0
9
0
10
1
11
1
12
1
.
.
.
.
.
.
99
9
Do not set the indoor unit address (IU AD SW) at 64 to 99.
It may result in failure.
(3) Remote controller address
i) 3-wire type
Rotary switch (RC AD SW)...Factory setting "0"
When connecting multiple indoor units to 1 standard wired remote controller, set the
address at RC AD SW in sequence from 0.
Setting
Setting range
Remote controller
0 to 15
address
Example
If 4 indoor units are connected.
Indoor unit
Indoor unit
RC AD SW
RC AD SW
0
1
Remote
controller
RC AD SW
0
1
Address
0
1
RC AD SW
8
9
Address
8
9
ii) 2-wire type
Rotary switch (RC AD SW)...Factory setting "0"
Since the remote controller address settings are automatically confi gured, you do not
need to confi gure them.
If confi guring manually, it is necessary to confi gure both the indoor unit and the remote
controller.
For details, please refer to the remote controller manual.
Rotary
Address
Switch Setting
IU AD SW
Indoor unit
× 1
× 10
0
0
0
1
1
0
2
2
0
3
3
0
4
4
0
5
5
0
6
6
0
7
7
0
8
8
0
9
9
0
0
10
0
1
11
1
2
12
1
.
.
.
.
.
.
.
.
.
9
63
6
Type of switch
Setting
example
0
RC AD
Indoor unit
Indoor unit
RC AD SW
RC AD SW
2
3
2
3
4
5
6
2
3
4
5
6
A
B
C
D
E
10
11
12
13
14
× 1
0
1
2
3
4
5
6
7
8
9
0
1
2
.
.
.
3
7
7
F
15
En-16
