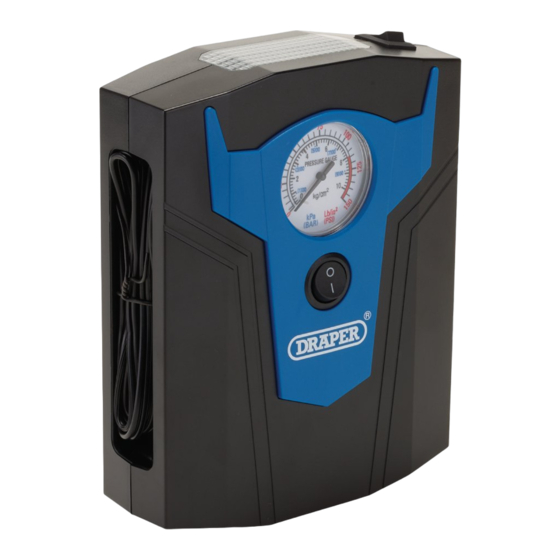
Draper 13274 사용 설명서 - 페이지 11
{카테고리_이름} Draper 13274에 대한 사용 설명서을 온라인으로 검색하거나 PDF를 다운로드하세요. Draper 13274 16 페이지. 12v analogue tyre inflator

8.
OPERATION
8.1
BEFORE USING THE INFLATOR
Warning! Always check that the vehicle is in neutral
and the handbrake is applied before attempting to
use this product.
Important! Whilst it is necessary for the vehicle's
ignition to be set to the "I"/ON position, it is also
recommended that the engine should also be
running, so that full power is supplied to the inflator
and discharging of the vehicle's battery is avoided.
Warning! This product has been designed to be
used with a vehicle's 12V DC accessory/cigarette
socket connection. DO NOT connect it to any other
type of electrical power outlet.
8.2
ATTACHMENT AND OPERATION –
FIGS.1 – 4
Important: As per the advice in the above section, it
is recommended at this point that the vehicle's
engine is running.
− Connect the 12V supply cable and plug (4) to
the vehicle's 12V DC accessory/cigarette socket.
− Release the thumb lock (3.1) on the air line
connector (3).
− Attach the air line connector to the valve of the
tyre (or other inflatable item).
− Close the thumb lock (3.1) of the air line
connector to make an air tight secure
connection.
− The pressure gauge (2) will then display the
current pressure of the tyre/inflatable.
− Turn the ON/OFF switch (1) to the 'ON' / 'I'
position – the compressor will start and the
needle on the pressure gauge will activate.
− Periodically switch the inflator to OFF, letting the
pressure gauge reading settle, so as to obtain a
more accurate reading.
− Once the required pressure has been reached,
switch off the inflator and disconnect the air line
connector from the valve.
Important: The gauge on the inflator is intended as
a guide only. Tyre pressures should be regularly
checked against a tyre pressure gauge
manufactured to BS4613.
− Remove the 12V supply plug (3) from the
vehicle's 12V DC accessory/cigarette socket.
Important: The inflator should not be operated for
more than
8 minutes
the inflator should be switched off and the
compressor allowed to cool before further operation.
in one session. After this time,
FIG.
1
FIG.
2
FIG.
3
FIG.
4
– 11 –
(4)
(3)
(3.1)
(2)
(1)
