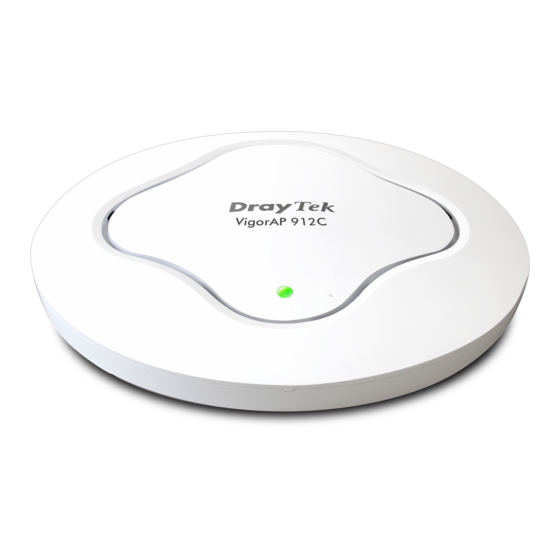
Draytek VigorAP 912C 빠른 시작 매뉴얼 - 페이지 13
{카테고리_이름} Draytek VigorAP 912C에 대한 빠른 시작 매뉴얼을 온라인으로 검색하거나 PDF를 다운로드하세요. Draytek VigorAP 912C 19 페이지. 802.11ac ceiling-mount access point

3
.
4
W
a
l
l
-
M
o
u
3
.
4
W
a
l
l
-
M
o
u
For wall-mounting, the VigorAP has keyhole type mounting slots on the underside.
You can fit the AP at any axis (i.e. 12, 3, 6 or 9 O'Clock) to allow for cable entry
from the most convenient location if you are using side entry – note the position
of the side entry cable cutout.
1.
A template is provided on the VigorAP's packaging box to enable you to
space the screws correctly on the wall.
2.
Place the template on the wall and drill the holes according to the
recommended instruction.
3.
Fit screws into the wall using the appropriate type of wall plug (as shown in
the ceiling section) but do not use the ceiling bracket – the VigorAP hangs
directly onto the screws.
n
t
e
d
I
n
s
t
a
l
l
a
n
t
e
d
I
n
s
t
a
l
l
a
t
i
o
n
t
i
o
n
Wall (wooden, concrete,
plasterboard or others)
7
