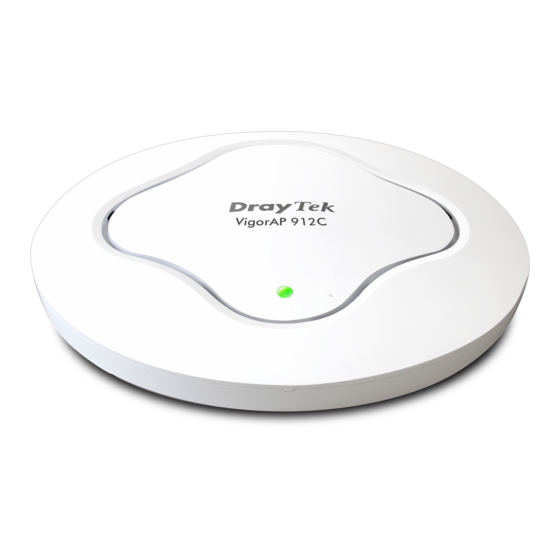
Draytek VigorAP 912C 빠른 시작 매뉴얼 - 페이지 9
{카테고리_이름} Draytek VigorAP 912C에 대한 빠른 시작 매뉴얼을 온라인으로 검색하거나 PDF를 다운로드하세요. Draytek VigorAP 912C 19 페이지. 802.11ac ceiling-mount access point

3
.
I
n
s
t
a
l
l
a
3
.
I
n
s
t
a
l
l
a
VigorAP can be installed under certain locations: wooden ceiling, plasterboard
ceilings, light-weighted steel frame and wall.
3
.
1
C
e
i
l
i
n
g
3
.
1
C
e
i
l
i
n
g
1.
Place the bracket under the wooden ceiling and fasten two screws firmly (as
shown in Figure below, Step 1).
2.
When the bracket is in place, fasten two screws firmly (as shown in Figure
below, Step 2) on the bottom of VigorAP.
3.
Make the device just below the bracket. Put the screws installed in Step 2 on
the holes of the bracket (as shown in Figure below, Step 3).
4.
Gently rotate the device to make screws slide into the notches of the
bracket and move forward till it is firmly fixed.
t
i
o
n
t
i
o
n
-
m
o
u
n
t
I
n
s
t
a
-
m
o
u
n
t
I
n
s
t
a
l
l
a
t
i
o
n
(
W
o
o
d
l
l
a
t
i
o
n
(
W
o
o
d
Step 3
3
e
n
C
e
i
l
i
n
g
)
e
n
C
e
i
l
i
n
g
)
Bracket
Step 1
Step 2
