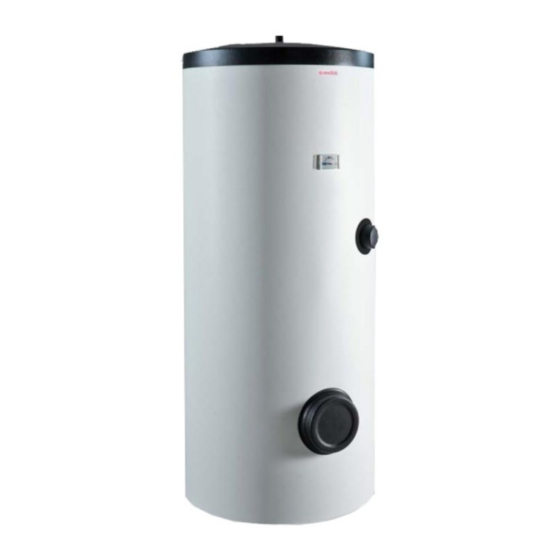
Drazice OKC 400 NTR/HP 작동 및 설치 지침 매뉴얼 - 페이지 15
{카테고리_이름} Drazice OKC 400 NTR/HP에 대한 작동 및 설치 지침 매뉴얼을 온라인으로 검색하거나 PDF를 다운로드하세요. Drazice OKC 400 NTR/HP 16 페이지. Indirect water tank
Drazice OKC 400 NTR/HP에 대해서도 마찬가지입니다: 운영 및 설치 매뉴얼 (16 페이지), 운영 및 설치 매뉴얼 (9 페이지)

2.5 CLEANING OF TANK AND EXCHANGE OF ANODE ROD
Repetitive water heating causes limestone sediment on both the enamelled tank walls and chiefly the flange
lid. The sedimentation depends on the hardness of water heated, its temperature, and amount of hot water
consumed.
We recommend checking and cleaning the vessel from scale and eventual replacement anode
rod after two years of operation
The anode life is theoretically calculated for two years of operation; however, it changes with water hardness
and chemical composition in the place of use. Based on such an inspection, the next term of anode rod
exchange may be determined. Have a company in charge of service affairs deal with the cleaning
and exchanging of the anode. When draining water from the tank, the combination faucet valve for hot water
must be open, preventing the occurrence of under-pressure in the tank receptacle which would stop water
from draining.
To prevent the occurrence of bacteria (e.g. Legionella pneumophila) within stack heating
it is recommended, if absolutely necessary, to increase the temperature of hot sanitary water
(HSW) periodically for a transitional period of time to at least 70℃. It is also possible to make
use of another way of disinfecting HSW.
PROCEDURE OF EXCHANGING ANODE ROD IN UPPER PART OF THE TANK
1. Turn off control voltage to the tank
2. Drain water from 1/5 tank.
PROCEDURE:
3. Anode is screwed in under the plastic cover in the upper lid of the tank
4. Unscrew the anode using adequate wrench
5. Pull the anode out and follow reversed steps to install a new one
6. During the fitting, make sure the grounding cable (300 l) is connected properly; this is the condition
of the anode's proper functioning
7. Fill the tank with water
PROCEDURE OF EXCHANGING ANODE ROD IN SIDE FLANGE
1. Turn off control voltage to the tank
2. Drain water from the tank.
PROCEDURE:
3. One anode is screwed in under the plastic cover in the upper lid of the tank, and the other one
is screwed in on the side flange
4. Unscrew the anode using adequate wrench
5. Pull the anode out and follow reversed steps to install a new one
6. Fill the tank with water
Close water inlet in the tank
Open the hot water valve on the combination faucet.
Open the drain tap of the tank
Close water inlet in the tank
Open the hot water valve on the combination faucet.
Open the drain tap of the tank
- 15 -
