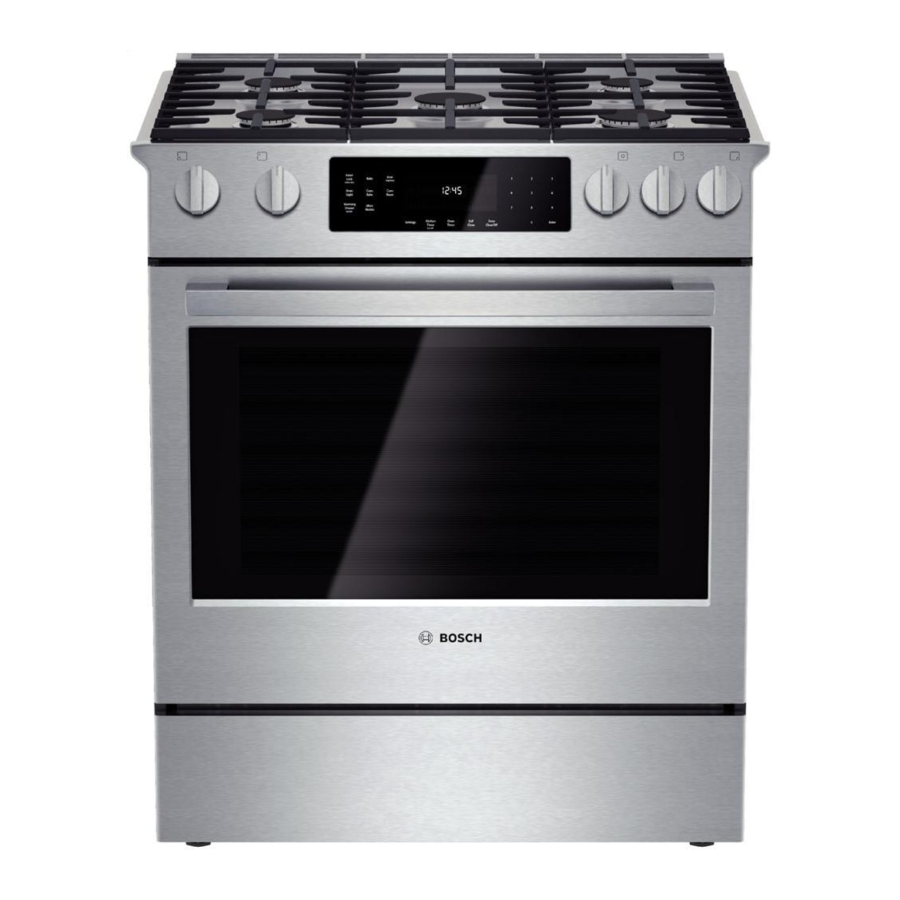
Bosch Vision 800 Series 설치 지침 매뉴얼 - 페이지 9
{카테고리_이름} Bosch Vision 800 Series에 대한 설치 지침 매뉴얼을 온라인으로 검색하거나 PDF를 다운로드하세요. Bosch Vision 800 Series 28 페이지. Gas slide-in ranges
Bosch Vision 800 Series에 대해서도 마찬가지입니다: 사용 설명서 지침 (40 페이지), 치수 및 사양 (2 페이지), 설치 매뉴얼 (6 페이지), 서비스 매뉴얼 (43 페이지), 서비스 매뉴얼 (36 페이지)

Figure 8
F
To connect the hot water supply:
the parts bag onto the dishwasher water supply hose.
adaptor through the opening toward the water shut off
valve. Take care not to allow the hose to kink or twist
behind the dishwasher.
3. Connect the dishwasher water supply line with adaptor to
the water shut off valve. You will need to use an approved
this connection. Always use the appropriate seal when
making plumbing connections.
NOTE: The end of the dishwasher water inlet hose is
heavy and will need to be supported. It is best to lay the
4. After all connections are made, turn on the hot water and
check for leaks.
Drain Connections
The dishwasher drain hose may be connected to the house-
a 1
/
" diameter hole in order to pass the drain hose through
1
4
the cabinet. You may use the previously removed drain hose
clip to hold the drain hose as shown in Figure 9 if needed.
Figure 9
1 Directly under the sink dishwasher drain connection, as
shown in Figure 10.
2 Directly to a disposer dishwasher drain connection, as
shown in Figure 11.
3 To the under sink dishwasher drain connection through
an air gap, as shown in Figure 12.
4 To a disposer dishwasher drain connection through an air
gap, as shown on Figure 13.
IMPORTANT NOTES:
· If local ordinance require an air gap, install it according
· If the dishwasher drain hose is to be connected to a
· The dishwasher drain hose must have one place along
· The drain hose length can be extended if necessary. The
Figure 8.
to the manufacturer's instructions.
disposer dishwasher drain connection, remove the plug
from the disposer's dishwasher drain connection.
maximum length of the drain hose, including the hose
Figure 10
Non-Metallic Tie
MIN.
20"
E
Figure 12
E
Figure 11
Non-Metallic Tie
MIN.
20"
E
Figure 13
Remove
plug
E
9
