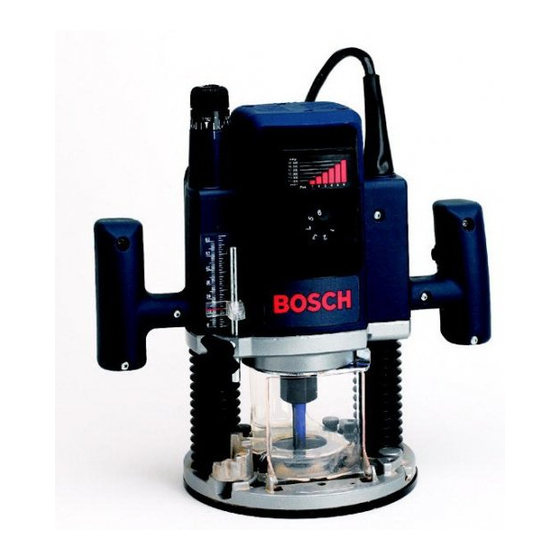
Bosch 1614EVS 사용 설명서 - 페이지 6
{카테고리_이름} Bosch 1614EVS에 대한 사용 설명서을 온라인으로 검색하거나 PDF를 다운로드하세요. Bosch 1614EVS 28 페이지. Plunge router
Bosch 1614EVS에 대해서도 마찬가지입니다: 사용 설명서 (28 페이지)

• Replace damaged cords immediately. Use of
damaged cords can shock, burn or electrocute.
• If an extension
cord is necessary,
a cord with
adequate
size conductors
should
be used to
prevent
excessive
voltage
drop, loss of power
or overheating.
The table
below
shows
the
correct
size to use, depending
on cord length
and amperage
rating on the tool's nameplate.
If
in doubt,
use the next heavier
gauge.
Always
use U.L. and CSA listed extension
cords.
Ampere Rating
(shown on nameplate)
0-
2.1-
3.5-
5.t-
7.1-
12.1-
2.0
3.4
5.0
7.0
12.0
16.0
25'
50'
-_ 75'
100'
L) 150'
18
18
18
18
16
14
18
18
16
16
14
12
18
18
16
14
12
10
18
16
14
12
10
16
14
12
12
Wire Gauge
Note:
The smaller the gauge number, the larger
the wire is in the cord.
"SAVE THESE INSTRUCTIONS"
Variable
Speed
with Dial Setting
(1613EVS
& 1614EVS)
Your router is also equipped with a variable
speed dial 2. The router bit speed can be preset
from 12,000 to maximum nameplate RPM by
rotating the dial to the desired setting. The dial
may be set on or between any of six positions (1
= low through 6 = high).
The "Lock-ON"
button may also be used with any setting of the
dial.
The following
speeds generally
apply, but pre-
cise
settings
are
largely
determined
by
experience
with the material
being
cut.
Mo-
mentary speed variation
is normal when starting
the router until the electronic
regulator
takes
control.
Dial
1613EVS
1614EVS
RPM
RPM
Material
1
12,000
12,000
nonferrous
metals,
2
14,000
14,500
larger
diameter
router
3
16,000
17,000
bits and cutters.
4
5
6
18,000
19,500
Softwoods,
plastics,
20,000
22,000
counter
tops,
smaller
22,000
23,000
diameter
router
bits
and cutters.
"Soft Start" Feature
(1613EVS
& 1614EVS
)
The router is equipped with the "soft start"
feature which gradually increases the starting
speed and torque, reducing the stress that oc-
curs from a high torque start.
Trigger
Switch
with
"Lock-ON"button
Your
tool can be turned "ON"
or "OFF"
by
squeezing
or releasing
the trigger.
Your tool is
also equipped
with "Lock-ON"
button,
located
on the left side of the trigger handle, that allows
for continuous
operation
without
holding
the
trigger.
TO LOCK SWITCH "ON": Squeeze trigger,
depress button and release trigger.
TO UNLOCK
THE SWITCH:
Squeeze
trigger
and release
it without
depressing
the "Lock-
ON" button.
WARNING!
If the "Lock-ON"
button is con-
tinuously
being
depressed,
the trigger
cannot
be released.
Start the tool before
applying
to work
and let
the tool come to full speed before
contacting
the workpiece.
Lift the tool from
the work
before releasing
the switch.
DO NOT turn the
switch "ON" and "OFF"
while the tool is under
load; this will greatly
decrease
the switch life.
Router Bit Installation
and Removal
WARNING!
Always disconnect the tool
from the power supply before installing router
bits, accessories or making any adjustments.
Installing
a Router
Bit
Turn the armature
shaft to align the flats with
the spindle
lock 11, and press the spindle
lock
firmly down to engage it. Next, use the wrench
supplied
to loosen
the collet chuck
assembly.
Insert the shank of the router bit into the collet
chuck as far as it will go, then back the shank
