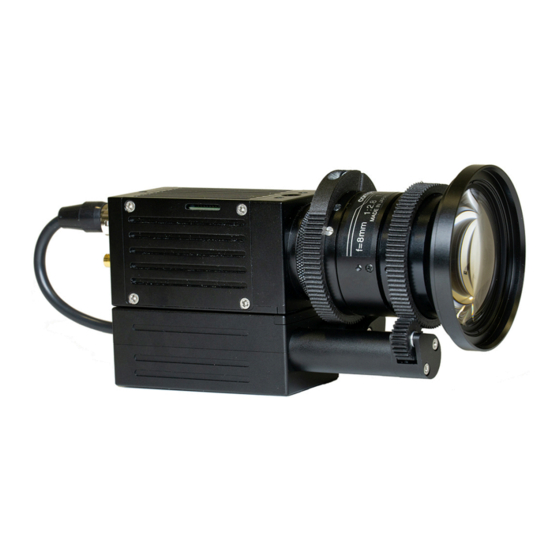
Dream Chip ATOM one 운영 매뉴얼 - 페이지 13
{카테고리_이름} Dream Chip ATOM one에 대한 운영 매뉴얼을 온라인으로 검색하거나 PDF를 다운로드하세요. Dream Chip ATOM one 18 페이지. Dual sdi full hd pov camera
Dream Chip ATOM one에 대해서도 마찬가지입니다: 운영 매뉴얼 (18 페이지)

13
Camera Operation
5 Camera Operation
5.1 Setting up the Camera
For the operation, only power and one SDI output must be connected. The
remote control via RS485 is optional.
The camera will automatically start with its last configuration (auto_save must
be enabled, or the user must save the settings manually after making changes).
The starting time of the camera is ~3 seconds.
The status of the camera can be seen with the status LED on the back side.
Purple blinking: Boot
Blue blinking: Ready
Yellow blinking: Busy
Red (slow): Firmware update
Red (fast): Genlock Error
Red / Yellow toggle: Over Temperature (see next chapter)
5.1 Cooling
The camera must transfer the operational heat (~3.5 W maximum) to the
environment. Since the camera is very small, it is recommended to mount it to
any surface for heat spreading.
The casing of the camera can get hot (~50 °C), so be careful when handling it
during operation.
The camera does have an over temperature protection mechanism. As soon as
the internal temperature goes above 90 °C the device will enter a safe mode
to cool down. It will signal the safe mode by toggling the status LED between
red and yellow.
The camera will resume operation when the temperature drops below 50 °C.
Alternatively you can power-cycle the device, but keep in mind that without
cooling down the camera will probably enter the safe mode again after a very
short time.
