Community CLOUD 6 설치 매뉴얼 - 페이지 9
{카테고리_이름} Community CLOUD 6에 대한 설치 매뉴얼을 온라인으로 검색하거나 PDF를 다운로드하세요. Community CLOUD 6 17 페이지. Community cloud series high output ceiling speakers
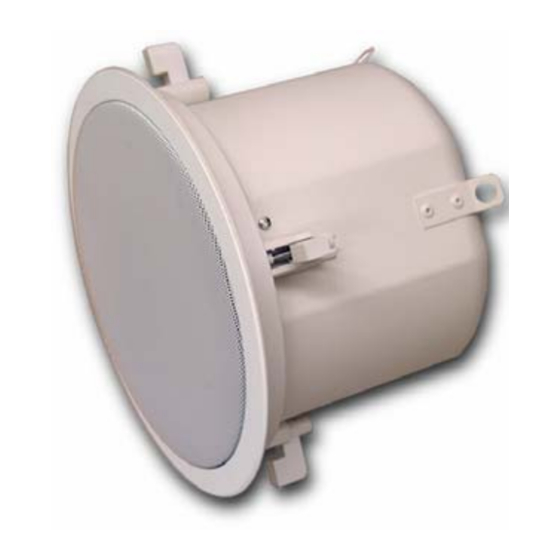
INSTALLATION AND WIRING
Guide to the Pins for Connection
The removable locking input connector contains 4 terminals. These are numbered on the connector.
The label located on the terminal cover plate lists the pin functions.
Pins 2 & 3 are the "+" and "-" inputs to the speaker. Pins 2 & 3 are connected to pins 1 & 4
respectively (i.e. Pin 1 connects to Pin 2 and Pin 3 connects to Pin 4) inside the speaker. Pins 1 & 4
are intended as loop-through connections to other loudspeakers. There are two possible layouts for
wiring a group of speakers. Choose whichever hookup pattern accommodates your installation best.
Parallel Wiring:
Connect the wire pair of the subsequent speaker to pins 2 & 3 (in parallel with the input wiring). In
this hook-up scheme, no wires get connected to pins 1 & 4.
+
From amplifier
or previous
_
speaker
1
2
+
LOOP
+
THRU
IN
1
2
3 4
Figure 9 –
Parallel wiring
CLOUD 4 and CLOUD 6 – Installation Guide
3 4
-
-
LOOP
THRU
IN
_
To next
speaker
+
Figure 8 –
Connector pins
PARALLEL WIRING
Whenever the
connector is pulled out
of the speaker for
troubleshooting,
subsequent speakers
will stay connected. It
can be useful during
troubleshooting to be
able to disconnect a
single speaker at a time.
7