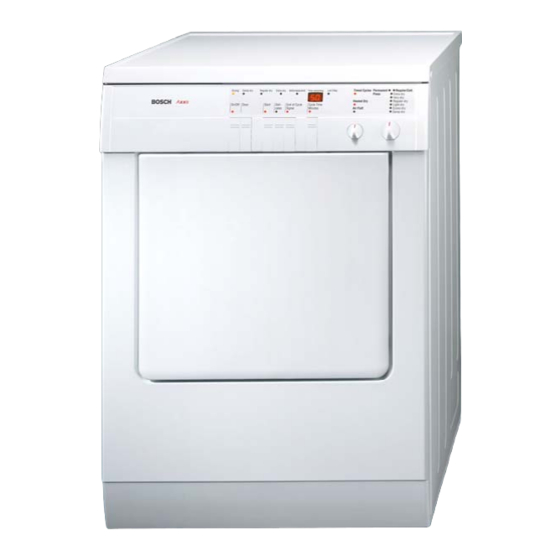
Bosch WTA3500 설치 지침 매뉴얼 - 페이지 3
{카테고리_이름} Bosch WTA3500에 대한 설치 지침 매뉴얼을 온라인으로 검색하거나 PDF를 다운로드하세요. Bosch WTA3500 12 페이지. Electric vented dryer and electric condensation dryer
Bosch WTA3500에 대해서도 마찬가지입니다: 사용 및 관리 매뉴얼 (12 페이지), 사용 및 관리 매뉴얼 (13 페이지), 사용 설명서 (44 페이지)

Additional Grounding Procedure
Some local codes may require a separate ground. In
such cases, the required accessory ground wire,
clamp and screw must be purchased separately.
Never ground the dryer to plastic plumbing lines,
gas lines or hot water pipes,
Electrical Receptacle
The receptacle for the dryer cord must be located so
that the power supply cord will be accessible when
the dryer is in the installed position.
Venting
The WTA 3500, electric vented dryer, is intended to
be vented to the outdoors. To prevent build-up of
moisture and accumulation of lint indoors, as well as
to maintain maximum drying efficiency, it is
recommended that the Bosch WTA 3500 be vented to
the outdoors.
Ductwork
Four-inch (approx. 100 mm) diameter ducting should
be used. Use either rigid metal or flexible metal
ducting material. DO NOT use non-metal duct with
this dryer.
Exhaust ducts should be as straight as possible.
Exhaust ducting longer than recommended
Can
extend drying time, can collect lint and may effect
dryer performance. Joints should be secured with
duct tape. DO NOT use screws to secure joints as lint
can collect on the screws. See Step 4, Exhaust
Duct, in following section titled INSTALLATION
for
recommended
routing and duct length calculations.
Exhaust Vent Hood
The exhaust duct must end with an approved exhaust
vent hood with swing out damper(s). DO NOT use an
exhaust vent hood with magnetic latches. To avoid
restriction of exhaust the outlet must be a minimum of
12 inches (30 cm) above ground level, or any other
obstructing surface. See Figure 7.
Condensate Drain
The WTL 5400, electric condensation dryer, dries by
condensing the moisture from the dryer air and then
pumping this condensate out of the dryer.
The WTL 5400 must have its condensate hose
connected to a suitable drain. See Step 5,
Condensate
Hose Connection, in the following
section titled INSTALLATION.
