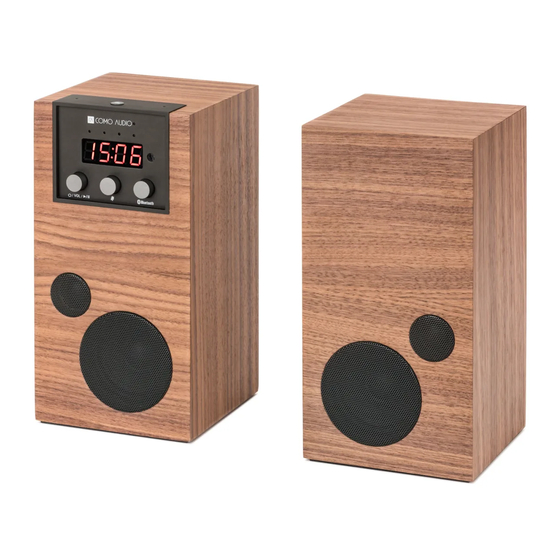
COMO AUDIO SpeakEasy 소유자 매뉴얼 - 페이지 6
{카테고리_이름} COMO AUDIO SpeakEasy에 대한 소유자 매뉴얼을 온라인으로 검색하거나 PDF를 다운로드하세요. COMO AUDIO SpeakEasy 15 페이지.

Setup Using the free Google Home Android App
You can also watch the Setup video on our website:
ANDROID APP
1. Plug in SpeakEasy with the included external adapter. You'll hear a spoken greeting and
the 4 Assistant white LEDs will pulsate.
2. Download and launch the free Google Home app on your Android smart device from the
Google Play store (the Como Control app is not used with SpeakEasy).
3. Follow the instructions in the app to complete the setup, currently:
4. 1 Device found will be shown. Select "Set up".
5. Setup: select "Yes".
6. Did you hear the confirmation tone? Select "Yes".
7. Help improve Google: select "Yes, I'm in".
8. Select the name of the room SpeakEasy will be located in followed by "Next".
9. Select the name of your Wi-Fi network followed by "Next".
10. Enter your Wi-Fi network password (password is case sensitive). Once this is done the
clock will set automatically and the white LEDs will stop flashing (initially the time might
be incorrect, but it will get updated in a minute)
11. Partners: select "More" and "Next".
12. Voice match: select "I Agree" and speak the commands.
13. Personal results: select "I Agree".
14. Enter your address (so Google can access the correct weather, etc. for your area) and
select "Confirm address".
15. Add your music services and select "Next".
16. Select your preferred default music service and select "Next".
17. Add video services and "Next" or select "Not now".
18. Sign up for news, etc. (optional).
19. All done: select "Continue".
20. Ready: select "Continue".
21. Close out the Google Home app. SpeakEasy will speak a greeting. You are now ready to
use SpeakEasy!
Setup Using the free Google Home iOS App
You can also watch the Setup video on our website:
iOS APP:
6
