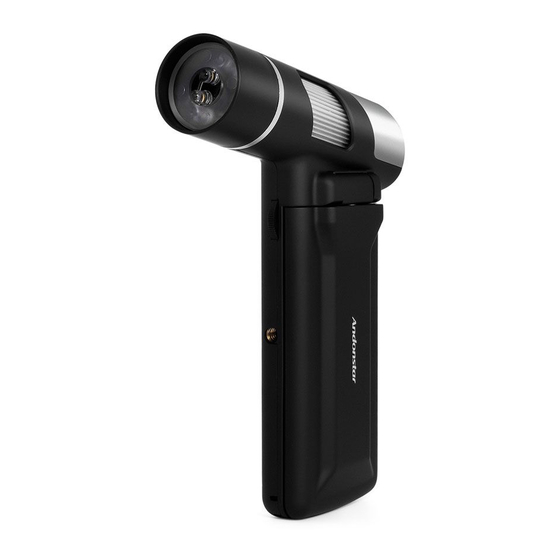
Andonstar AD203 사용자 설명서 - 페이지 14
{카테고리_이름} Andonstar AD203에 대한 사용자 설명서을 온라인으로 검색하거나 PDF를 다운로드하세요. Andonstar AD203 14 페이지.

②. Operating Steps
*In this mode, the resolution is 1280*720
1). Connect the microscope to the computer.
2). Two options "Mass storage" and "PC Camera" appear on the microscope screen. Use the "Down" and "OK" buttons
to select "PC Camera".
3). Start the "Amcap" software
4). Choose the microscope device " USB camera" in " Devices" .
Capture picture:
1). Initial setting: Options→Preview√, Capture→Still→Enable√,
2). Select the image storage path: Capture→Still→Folder
3). Take a picture: Capture→Still→Snap (or directly press "Enter" on the keyboard
Record video:
1). Select the video storage path: File→Set Capture File→ Target Folder
2). Recording: Capture→start capture→OK→capture→stop capture.
8. FAQ
• Why does the device feel warm?
Microscope work requires a camera, GPU (image processor), CPU (processor) and other devices to work together.
During imaging or image processing, the microscope has a high load and consumes a lot of power. Long working
hours may cause a certain degree of warmth. This is a normal phenomenon.
• Why the image is not clear?
Please adjust the focus or focus tube and light irradiation angle. When conditions permit, auxiliary lighting can be
added for better lighting effects!
• Why choose Playback Mode after recording, and there is no image on the display?
It is possible that the video is not saved completely, the shooting is not successful, or the video file of the video is
too large, and the system needs running time. Do not power off/shut down during video shooting!
• Why the image is abnormal after connecting to the computer?
Please try to change a computer or a USB cable. If you cannot solve it, please contact our technical team in time.
5
