Bosch GDX18V-1800C 작동/안전 지침 매뉴얼 - 페이지 15
{카테고리_이름} Bosch GDX18V-1800C에 대한 작동/안전 지침 매뉴얼을 온라인으로 검색하거나 PDF를 다운로드하세요. Bosch GDX18V-1800C 26 페이지.
2610050579_GDR GDX 1/7/19 2:57 PM Page 15
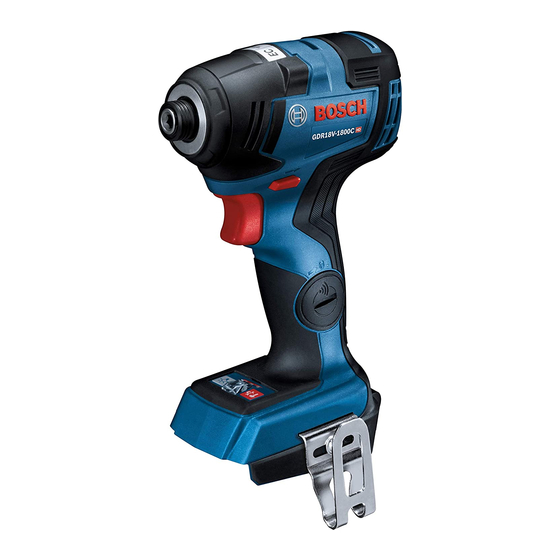
▼ INTENDED USE
This tool is intended for the fastening and
loosening of bolts, nuts and various
threaded fasteners. This tool is not
intended for use as a drill.
▼ VARIABLE SPEED CONTROLLED
TRIGGER SWITCH
Your tool is equipped with a variable speed
trigger switch. The tool can be turned "ON"
or "OFF" by squeezing or releasing the
trigger. The speed can be adjusted from
the minimum to maximum nameplate RPM
by the pressure you apply to the trigger.
Apply more pressure to increase the speed
and release pressure to decrease speed
(Fig. 1).
▼ PRESELECTING THE SPEED/
IMPACT RATE
With the button 9 you can preselect the
required speed/impact rate in three stages.
Press the button 9 repeatedly until the
desired setting appears in the speed
indicator 6. The selected setting will be
saved.
The required speed/impact rate depends
on the material and the working conditions,
and can be determined through practical
testing.
▼ BRAKE
When the trigger switch is released it
activates the brake to stop the chuck
quickly. This is especially useful in the
repetitive driving and removal of screws.
▼ FORWARD/REVERSING LEVER AND
TRIGGER LOCK
position to help prevent accidental starts
and accidental discharge.
Your tool is equipped with a forward/
reversing lever and trigger lock located
above the trigger (Fig. 7). This lever was
designed for changing rotation of the bit,
and for locking the trigger in an "OFF"
position.
To lock the trigger, move the lever to the
center.
For forward rotation, (with chuck pointed
away from you) move the lever to the far
left.
Operating Instructions
After tool use, lock
trigger
in
"OFF"
3
For reverse rotation move the lever to the
far right. To activate trigger lock move lever
to the center off position.
comes to a complete stop. Shifting during
rotation of the chuck can cause damage to
the tool.
▼ BUILT IN WORK LIGHT
Your tool is equipped with an LED light 8
for better visibility when using the tool.
Press the light switch button 7 to turn the
LED on or off. When pressing the light
switch button to turn the LED on, the light
will stay on (afterglow) for 10 seconds.
After the trigger 4 is activated, the LED will
then stay on for 10 seconds. The length of
time for afterglow can be changed in
'Bosch ToolBox' app setting (if connected).
▶ Operating Tips
You will extend the life of your bits and do
neater work if you always put the bit in
contact with the work before pulling the
trigger. During the oper a tion, hold the tool
firmly and exert light, steady pressure. Too
much pressure at low speed will stall the
tool. Too little pressure will keep the bit
from cutting and cause excess friction by
sliding over the surface. This can be
damaging to both tool and bit.
15
Fig. 7
3
Do not change direction
of rotation until the tool