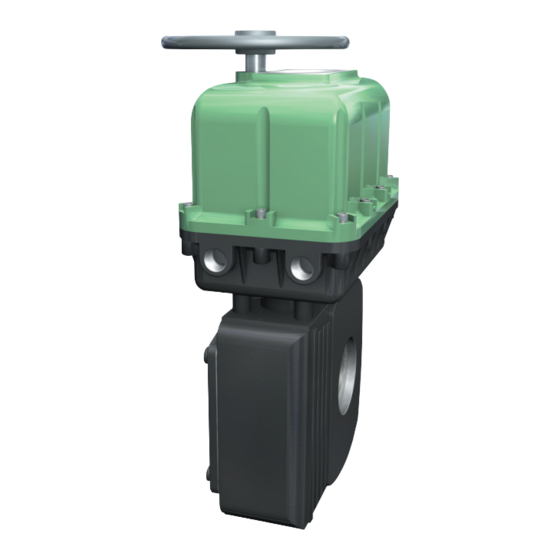
Dresser DCR Series 설치 매뉴얼 - 페이지 2
{카테고리_이름} Dresser DCR Series에 대한 설치 매뉴얼을 온라인으로 검색하거나 PDF를 다운로드하세요. Dresser DCR Series 16 페이지. Rcs actuators

REQUEST A QUOTE AT WWW.AUTHORIZEDPARTS.COM
CAUTION
To prevent ignition of hazardous atmospheres, do not
remove actuator cover while curcuits are live.
Cam Adjustment–Square Group 3:
MAR8 Models
Cam adjustments (if required), as follows:
Open (counter-clockwise) direction of travel:
a.
Loosen setscrew on Cam 1 (and Cam 3 for auxiliary
switches) to give the cam(s) a finger tight grip on the
shaft. Rotate cam(s) in a counter-clockwise direction away
from the switch.
b.
Manually move the actuator to the full "open" (CCW)
position.
c.
Rotate Cam 1 (and Cam 3) clockwise until it engages the
switch roller and the switch just "breaks". You should hear
a light click.
d.
Tighten the setscrew on Cam 1.
e.
If auxiliary switches were provided, rotate Cam 3 about 2
degrees in the clockwise direction. Then tighten the
setscrew. This will ensure that Switch 3 "makes" when the
actuator reaches the full open position.
f.
If travel is not correct, repeat steps (a) through (e).
Close (clockwise) direction of travel:
a.
Loosen setscrew on Cam 2 (and Cam 4 for auxiliary
switches) to give the cam(s) a finger tight grip on the
shaft. Rotate cam(s) in a clockwise direction away from the
switch.
b.
Manually move the actuator to the full "close" (CW)
position.
c.
Rotate Cam 2 (and Cam 4) counter-clockwise until it
engages the switch roller and the switch just "breaks". You
should hear a light click.
d.
Tighten the setscrew on Cam 2.
e.
If auxiliary switches were provided, rotate Cam 4 about 2
degrees in the counter-clockwise direction. Then tighten
the setscrew. This will ensure that Switch 4 "makes" when
the actuator reaches the full open position.
f.
If travel is not correct, repeat steps (a) through (e).
Replace the cover and tighten all flange bolts.
The actuator is now ready for electrical operation.
Cam Adjustment–Round Group 3:
MAR/DCR8RH Models
Cam adjustments (if required), as follows:
Open (counter-clockwise) direction of travel:
a.
Loosen setscrew on Cam 1 (and Cam 3 for auxiliary
switches) to give the cam(s) a finger tight grip on the
shaft. Rotate cam(s) in a counter-clockwise direction
away from the switch.
b.
Manually move the actuator to the full "open" (CCW)
position.
c.
Rotate Cam 1 (and Cam 3) clockwise until it engages the
switch roller and the switch just "breaks". You should hear
a light click.
d.
Tighten the setscrew on Cam 1.
e.
If auxiliary switches were provided, rotate Cam 3 about 2
degrees in the clockwise direction. Then tighten the
setscrew. This will ensure that Switch 3 "makes" when the
actuator reaches the full open position.
f.
If travel is not correct, repeat steps (a) through (e).
Close (clockwise) direction of travel:
a.
Loosen setscrew on Cam 2 (and Cam 4 for auxiliary
switches) to give the cam(s) a finger tight grip on the
shaft. Rotate cam(s) in a clockwise direction away from the
switch.
b.
Manually move the actuator to the full "close" (CW)
position.
c.
Rotate Cam 2 (and Cam 4) counter-clockwise until it
engages the switch roller and the switch just "breaks". You
should hear a light click.
d.
Tighten the setscrew on Cam 2.
e.
If auxiliary switches were provided, rotate Cam 4 about 2
degrees in the counter-clockwise direction. Then tighten
the setscrew. This will ensure that Switch 4 "makes" when
the actuator reaches the full open position.
2
CAM 1
CAM 2
CAM 3
CAM 4
