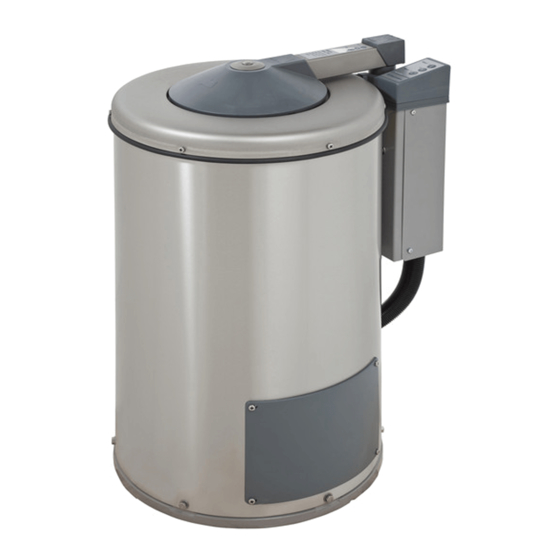
Electrolux C260R 서비스 매뉴얼 - 페이지 38
{카테고리_이름} Electrolux C260R에 대한 서비스 매뉴얼을 온라인으로 검색하거나 PDF를 다운로드하세요. Electrolux C260R 41 페이지. Hydro-extractor
Electrolux C260R에 대해서도 마찬가지입니다: 운영 매뉴얼 (24 페이지), 운영 및 설치 매뉴얼 (20 페이지)

42
R-models (C240R, C260R and C290R)
Checking and adjusting the rigidty of the drum
mounting.
The rigidity of the drum mounting is adjusted by
means of the nuts above the bushing:
three nuts or four according to model.
Check:
• That the drum is not too loosely restrained.
Press hard on the drum edge. It should not be
5
possible to press the drum in more than
20-30 mm. If the mounting is too loose, tighten the
three or four nuts above the bushing.
6
• That the drum is centret, correct this by adjusting
one or more of the nuts on top of the bushing.
Look straight down at the extrator drum from above
7
and compare the drum edge with the opening in the
casing. If the drum is not centred, correct this by
adjusting one or more of the nuts on top of the
bushing.
If any of the nuts should reach the end of its thread
when adjusted, the rubber bushings must be
replaced, see under heading "To replace rubber
bushings".
Please note!
On the C260R and C290R a loose nut can
cause noise. The spring washers under the
nuts increase the latitude of movement.
To replace rubber bushing.
• Remove the drain hose.
• Remove the cover over the control unit.
Disconnect the cables from the control unit to the
motor, imbalance switch and outer casing.
- Disconnect the 6-, 3- and 2-pole connectors.
- Disconnect the 3-pole edge connector on the
circuit board for automatic functions.
- Disconnect the two yellow/green earth connectons
in the automatic control unit.
- Pull the freed cables down through the conduit
between control unit and outer casing so that they
are clear of the extractor´s outer casing.
• Remove the cap nut securing drum to motor
shaft. Remove drum. Use a special puller (see
8
figure).
42.2
42. Drum
Service
manual
5
20-30 mm
6
7
A
A=B
8
487 03 29 91
B
